Microsoft Entra Self-Service Password Reset (SSPR) in Identity is a powerful feature that allows users to reset or change their own passwords without depending on an IT administrator. When SSPR is not enabled, users who try to reset their passwords often see errors such as:
“You can’t reset your own password because password reset isn’t set up for your organization.”
This can lead to frustration, lost productivity, and unnecessary downtime.
By enabling SSPR, organizations empower employees to manage their passwords independently while significantly reducing the workload on IT teams.
However, I have come across a real-world scenario where an IT administrator enabled Self-Service Password Reset without proper planning. As a result, users started receiving frequent and unexpected MFA registration prompts, which created confusion and frustration. Eventually, the organization reached out to me for help.
When I investigated the issue, I discovered that the problem was not SSPR itself, but the lack of proper planning and configuration before enabling it. This experience highlights the importance of preparing your environment correctly before rolling out SSPR to Microsoft 365 users.
In this blog, I explain the correct and recommended approach to enabling Self-Service Password Reset in Microsoft 365, so you can avoid common pitfalls and ensure a smooth user experience.
Understanding Self-Service Password Reset Before Enabling It Organization-Wide
If you are part of a large organization, proper planning is essential before enabling Self-Service Password Reset (SSPR) across the entire tenant. SSPR relies on multi-factor authentication (MFA). If users are not already registered for MFA and SSPR is enabled, they will be prompted to complete MFA registration at their next sign-in.
For non-technical users, this can be confusing. Many may assume something is wrong with their account. In some cases, users close the MFA registration window and then try to access Outlook or SharePoint directly through bookmarked links. Because their authentication is incomplete, they encounter sign-in errors, which leads to frustration and increased support requests.
This is why proper planning and user awareness are critical before enabling SSPR tenant-wide. A best-practice approach is to start with a small group of users, validate the configuration, gather feedback, and then gradually roll out SSPR across the organization.
Run an MFA Registration Campaign Before Enabling SSPR
Before enabling Self-Service Password Reset (SSPR), it is important to run an MFA registration campaign. This helps you understand how many users have already registered for MFA and how many still need to complete the registration.
If Authenticator push notifications are enabled and a user has not yet set up Microsoft Authenticator, they will be prompted to register it at sign-in. Users are given the option to skip the MFA registration a limited number of times (up to three). After that, MFA registration becomes mandatory.
Running an MFA registration campaign in advance ensures that most users are already prepared and reduces confusion, sign-in issues, and support requests when SSPR is enabled.
We strongly recommend starting the MFA registration campaign before enabling Self-Service Password Reset across the organization. You can start the registration Campaign Entra ID > Authentication Methods > Registration Campaign.
Step-by-Step Instructions to Enable Self-Service Password Reset
Step 1: Access the Azure Admin Center or Identity Portal
- Log in to the Microsoft Azure Portal with your global administrator credentials.
- Search Entra ID in the search at top bottom.
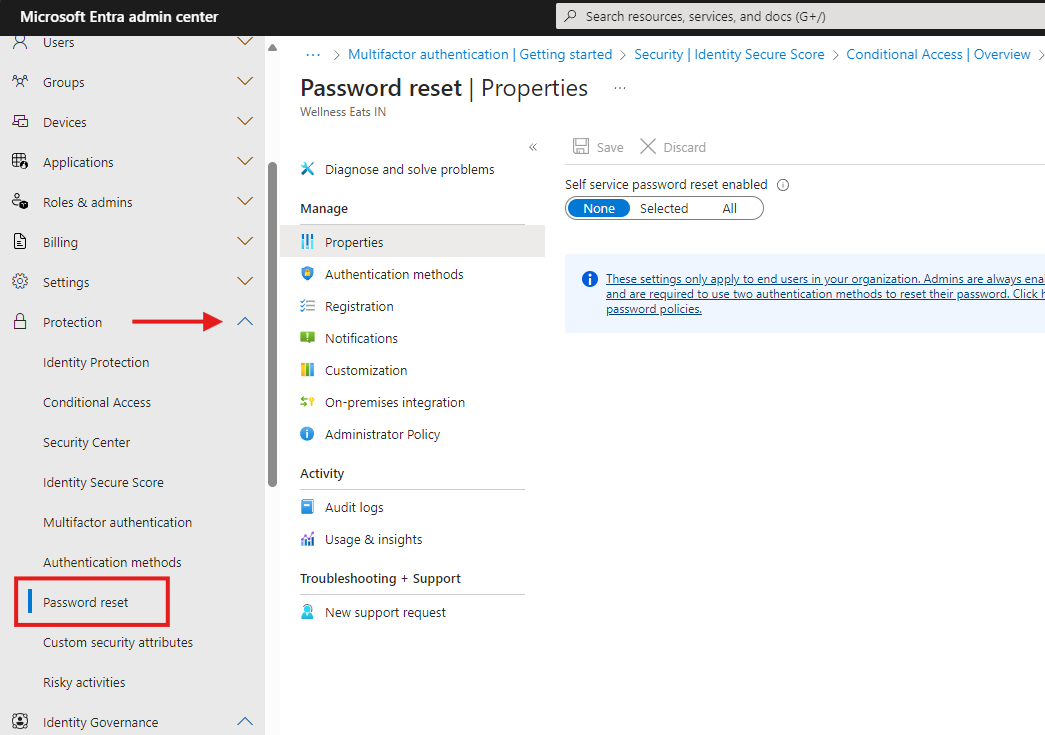
- In the left-hand menu, select Password reset Under the Protection in the Left navigation pane.
Step 2: Configure Self-Service Password Reset Policies
Enable SSPR for Users
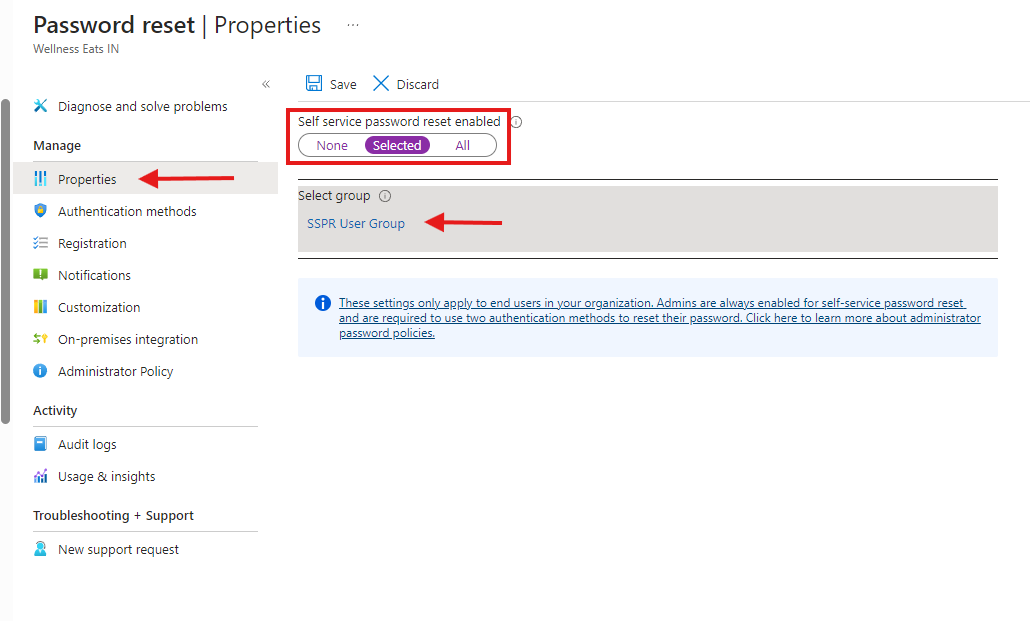
- Under the Password reset menu, select Properties.
- Set the Self-service password reset enabled option to Selected or All:
- All: Activates SSPR for all users in your directory.
- Selected: Allows SSPR for specific user groups.
- If you choose Selected, click Select groups and specify the desired user groups. Check out the article on how to create Security group.
- Save your settings by clicking Save.
Step 3: Configure Authentication Methods
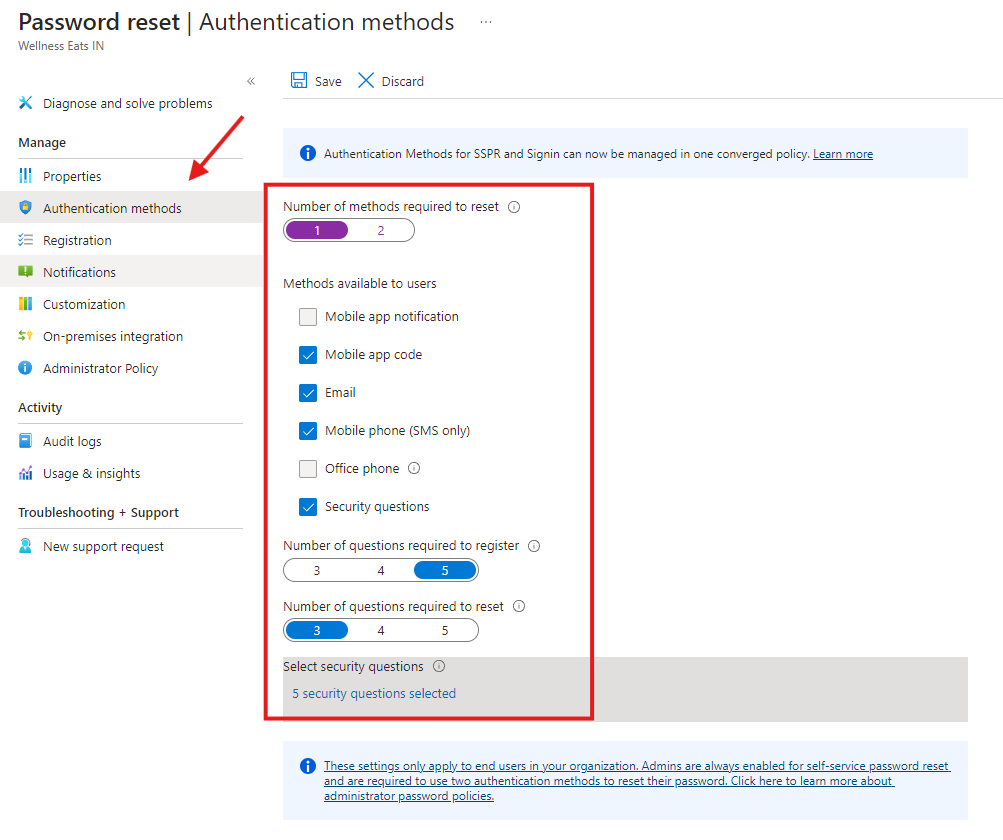
- In the Password reset section, go to Authentication methods.
- Specify the number of methods users must verify before resetting their password (e.g., 1 or 2).
- Select authentication methods from the following options:
- Mobile app notification
- Mobile app code
- Security questions
- Phone call
Security Questions Configuration
- Define the required number of security questions.
- Set up a pool of security questions users can choose from.
- Customize the questions as necessary to align with organizational policies.
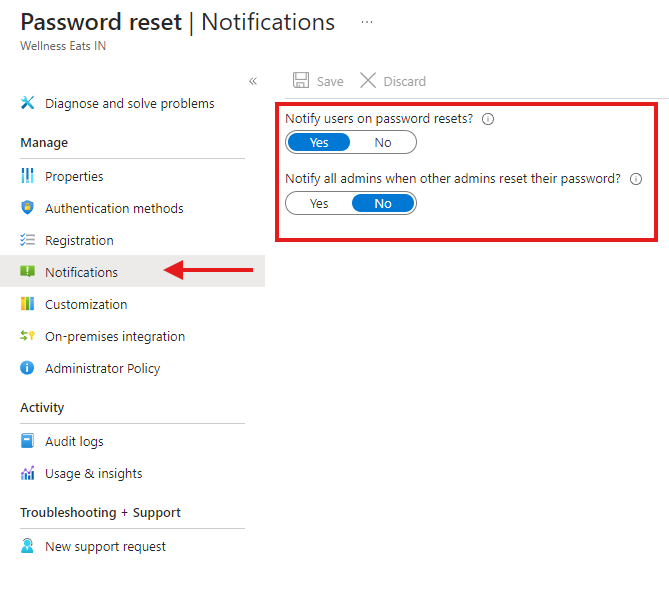
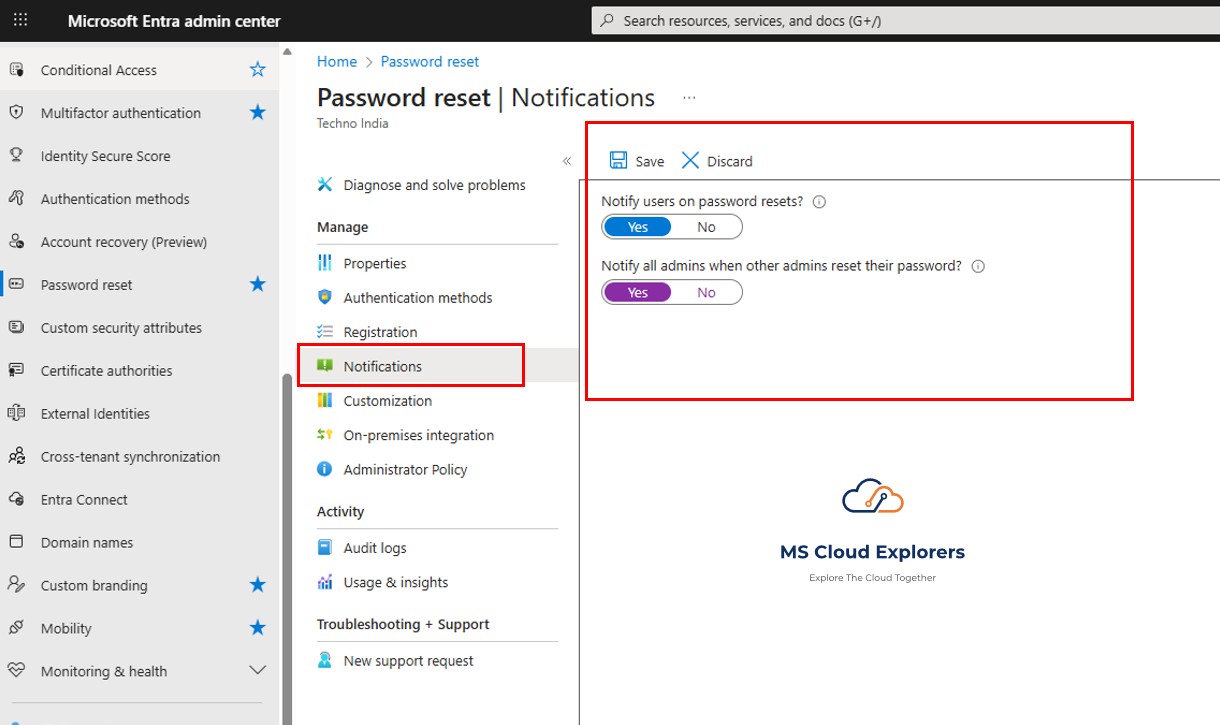
Step 4: Customize Notifications
- Navigate to Notifications under the Password reset menu.
- Enable the following options as needed:
- Notify users on password resets: Sends email notifications to users after a password reset.
- Notify admins on password reset: Alerts administrators about password resets for auditing purposes.
- Click Save to apply your changes.
Step 5: Test and Validate SSPR
- Select a test user account included in the SSPR policy.
- Instruct the user to navigate to the Password Reset Portal.
- Simulate a password reset to ensure the process works as intended:
- Verify authentication methods.
- Reset the password and confirm successful login.
Step 6: Roll Out to the Organization
Educate Users
- Share documentation or guides on how to use SSPR.
- Provide training sessions or webinars for end-users.
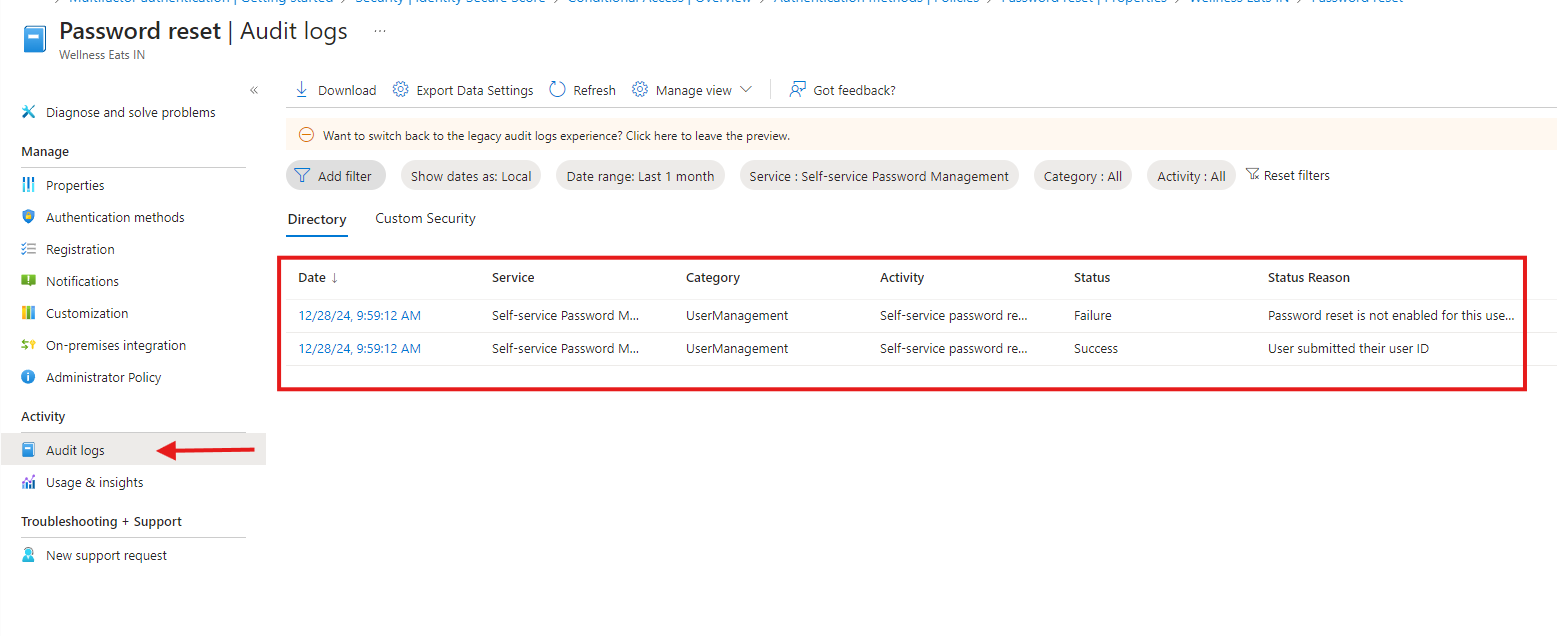
Monitor Usage
- Use the Audit Logs in Azure Active Directory to monitor SSPR activities.
- Ensure no unauthorized attempts are being made.
Set Up Notifications for Password Resets
This is a crucial configuration step. When you enable Self-Service Password Reset (SSPR), you should also enable password reset notifications for both the end user and the monitoring or security team. These notifications help ensure that password resets are performed only by the legitimate account owner and not by an unauthorized user.
Enabling notifications also allows administrators to monitor password reset activity across the organization and quickly identify any suspicious behaviour.
You can configure these alerts in the Self-Service Password Reset notification section of the Microsoft Entra admin center.
Troubleshooting Common Issues
Authentication Method Not Working
- Verify that the selected authentication methods are configured correctly.
- Ensure users have up-to-date contact information in their profiles.
Users Unable to Access SSPR
- Confirm that the user account is included in the enabled group.
- Check if the Self-service password reset enabled setting is applied correctly.
Notifications Not Being Sent
- Verify that email settings are correctly configured in your tenant.
- Check spam or junk folders for misplaced notifications.
Conclusion
By implementing Self-Service Password Reset correctly, organizations can significantly improve operational efficiency, reduce downtime, and minimize helpdesk dependency. Proper planning, MFA readiness, user awareness, and phased deployment are key to a successful SSPR rollout. When configured thoughtfully, SSPR empowers users while maintaining strong security and compliance across the Microsoft 365 environment.
FAQs
- What is Microsoft Entra Self-Service Password Reset (SSPR)?
SSPR allows users to reset or unlock their passwords without IT administrator intervention, using predefined authentication methods. - Does SSPR require MFA?
Yes, SSPR relies on MFA or registered authentication methods to securely verify user identity. - Should SSPR be enabled for all users at once?
No. Microsoft recommends enabling SSPR for a small group first and then gradually rolling it out organization-wide. - Why do users see MFA prompts after enabling SSPR?
If users are not already registered for MFA, enabling SSPR triggers MFA registration during sign-in. - Does Self-Service Password Reset Work with Hybrid Active Directory?
Yes, Self-Service Password Reset (SSPR) works with Hybrid Active Directory, but it requires additional configuration to function correctly.
Explore More from MS Cloud Explorers
- Understand the Microsoft Entra ID and its Features
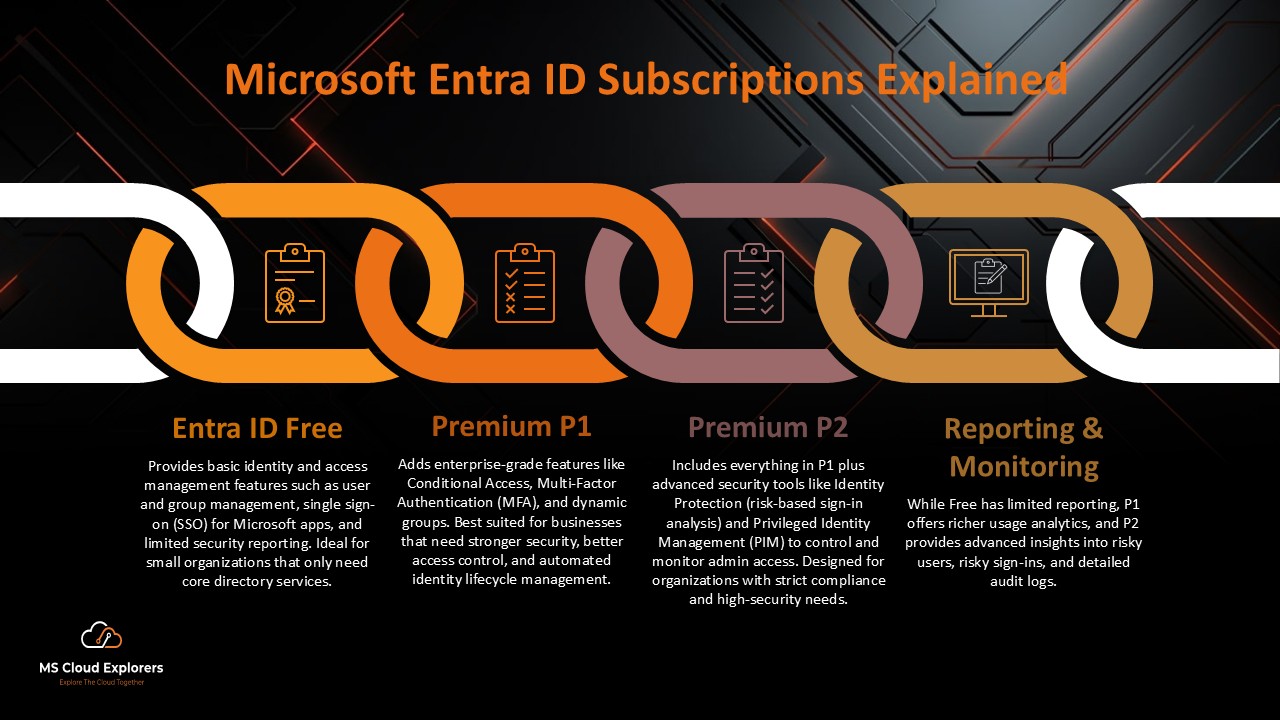
- Microsoft Entra ID editions and features
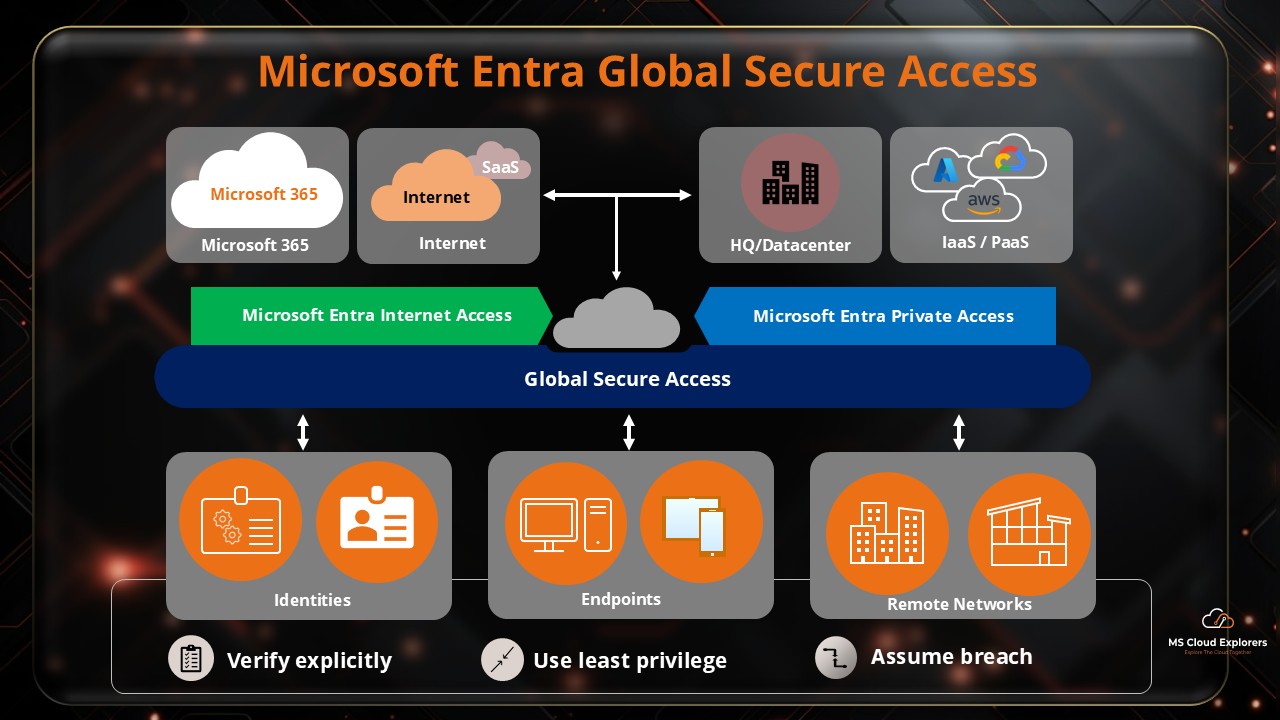
- Microsoft Entra Global Secure Access and Entra Private Access
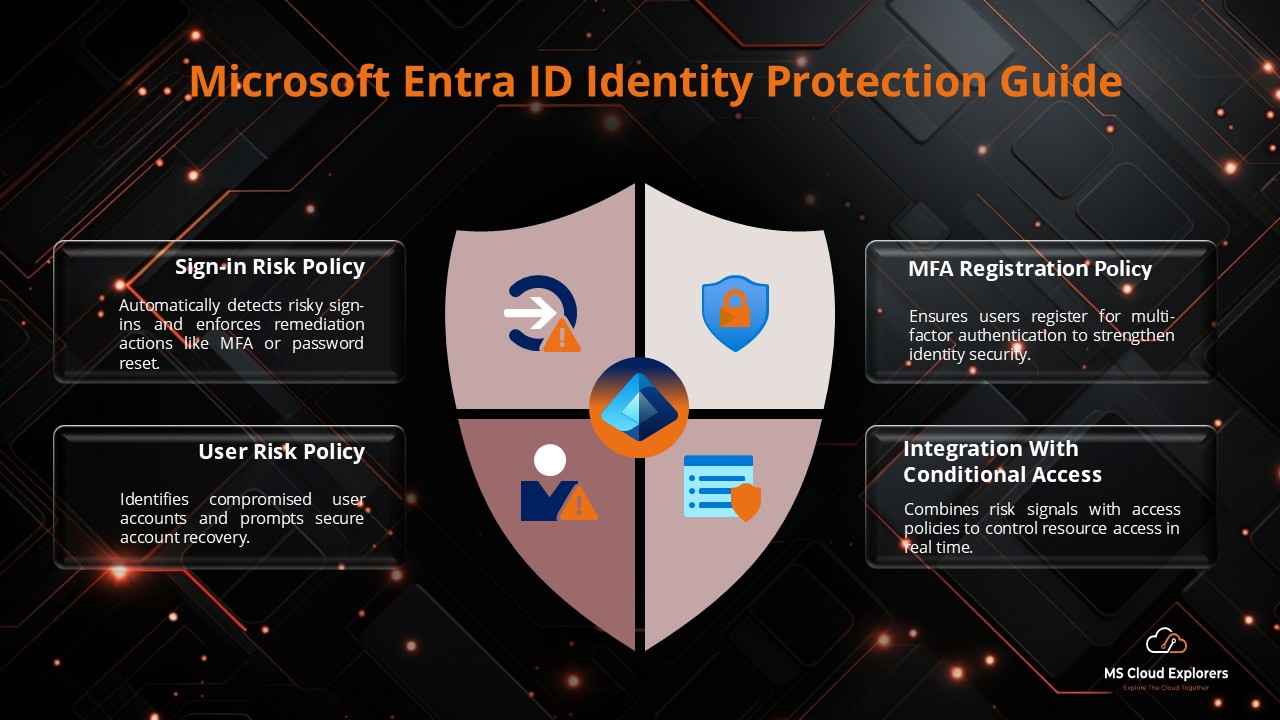
- Microsoft Entra ID protection: A complete guide
- Microsoft Entra ID Conditional Access Policies
Enjoyed the article?
We’d love to hear your thoughts—share your comments below!
For more insights, guides, and updates from the Microsoft ecosystem, be sure to subscribe to our newsletter and follow us on LinkedIn. Stay connected and never miss out on the latest tips and news!

Super helpful! Just curious — does this work for hybrid users too, or only for cloud-only accounts?
Great question! Yes, self-service password reset (SSPR) can work for hybrid users too — as long as you have password writeback enabled through Azure AD Connect. It lets users reset their passwords in the cloud and syncs them back to your on-prem AD. Let us know if you’d like help setting that up!