
During a Microsoft Intune project for a large educational organization, I ran into a familiar challenge: too many users and devices, and not enough automation. Although the organization had a large Microsoft Entra ID tenant, they were using only a handful of Microsoft Entra ID Dynamic Groups.
After analyzing their setup, I suggested using Microsoft Entra ID Dynamic Groups to improve automation. In this post, I’ll cover what Microsoft Entra ID Dynamic Groups are, how to create them, their benefits, use cases, limitations, and why they are essential for modern IT operations.
What Are Microsoft Entra ID Dynamic Groups?
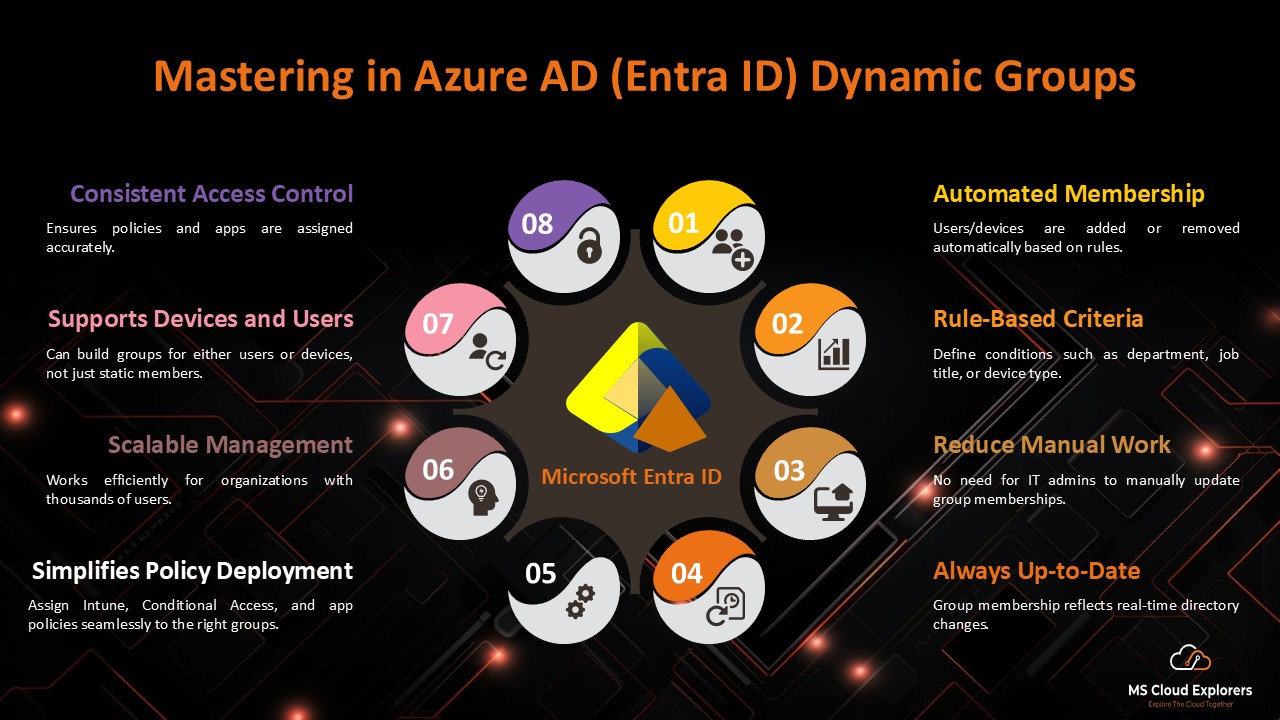
Microsoft Entra ID Dynamic Groups are smart groups within Microsoft Entra ID (formerly Azure Active Directory) that automatically manage memberships based on user or device attributes. Rather than manually assigning and removing members, administrators can set up dynamic membership rules that automatically update the group as users and devices meet certain criteria. This automation drastically reduces manual work and improves the overall efficiency of group management.
There are two primary types of dynamic groups:
- Dynamic User Groups: These automatically include or exclude users based on attributes like department, job title, or location.
- Dynamic Device Groups: These automatically include or exclude devices based on attributes such as operating system version, device type, or compliance state.
Why Should You Use Microsoft Entra ID Dynamic Groups?
During my project with the educational institution, I saw firsthand the value of leveraging Microsoft Entra ID Dynamic Groups to simplify group management. Here are some key reasons why dynamic groups are beneficial:
- Automated Membership Management: By defining rules based on user and device attributes, dynamic groups automatically update, reducing administrative overhead.
- Enhanced Security: By ensuring that policies and access controls are applied consistently, dynamic groups eliminate human error and ensure compliance.
- Scalability: For large organizations or institutions with constantly changing user and device rosters, dynamic groups provide an easy way to scale group management without extra effort.
- Simplified Policy Enforcement: You can apply policies, licenses, and applications automatically to users or devices based on defined rules.
Common Use Cases for Microsoft Entra ID Dynamic Groups
Here are some real-world examples where Microsoft Entra ID Dynamic Groups can streamline operations:
- Role-Based Access Control (RBAC): Automatically assign users to groups based on their roles to manage permissions and access.
- License Assignment: Dynamically assign Microsoft 365 licenses based on attributes like department or job title.
- Application Access Control: Control access to applications by assigning them to specific dynamic groups. For example, grant access to certain educational apps only to students or faculty.
- Conditional Access Policies: Enforce conditional access policies that only apply to users or devices that meet specific criteria (e.g., compliant devices).
- Device Management: Automatically group devices by type or compliance status to assign Intune policies or monitor compliance.
How to Create a Microsoft Entra ID Dynamic Groups
Creating a dynamic group in Microsoft Entra ID is a straightforward process. Here’s how you can set it up:
Prerequisites
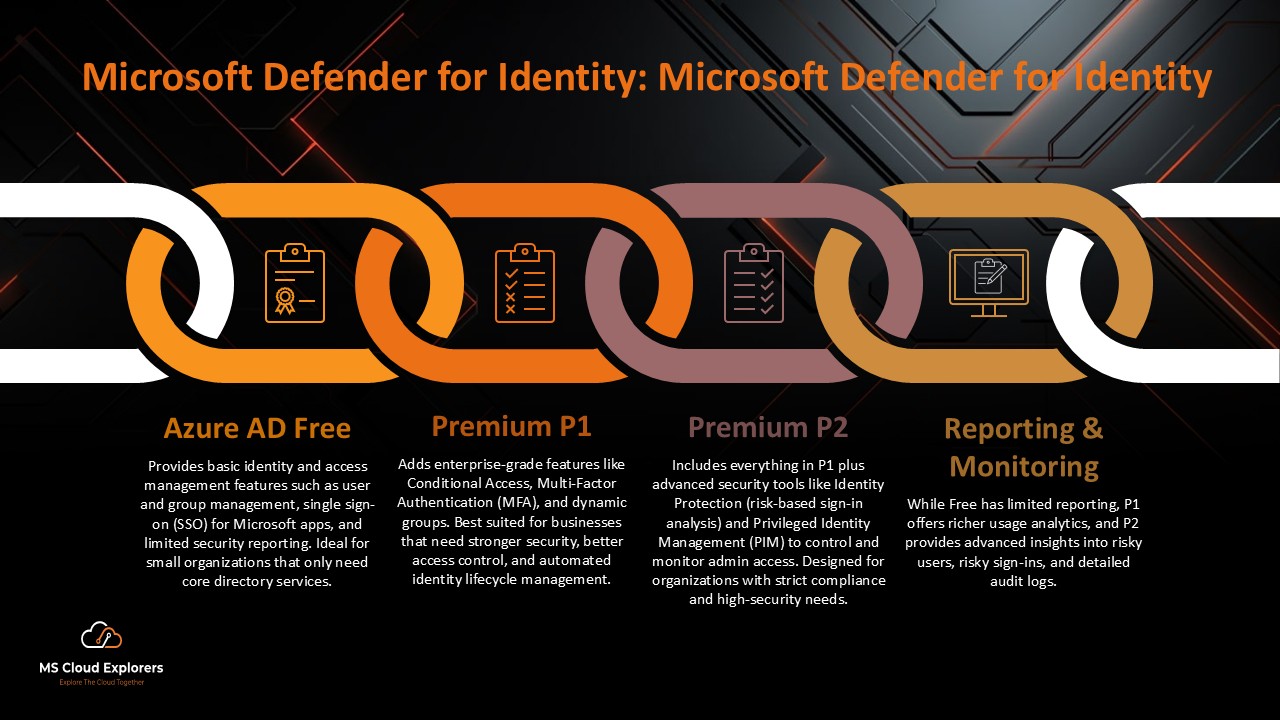
- Microsoft Entra ID Premium P1 or P2 license required
- You must be Global Administrator, Intune Administrator, or User Administrator role assigned.
Step-by-Step Configuration
- Log in to Entra ID Portal:
- Create a New Group:
- Go to Groups and click New group.
- Choose Security as the Group Type.
- Provide a Group Name and Description.
- Define Membership Type:
- Select Dynamic User or Dynamic Device as the Membership type.
- Set Dynamic Membership Rules:
- Click Add dynamic query.
- Use the rule builder or enter a custom query based on attributes. Example queries include:
- Users in a specific department:
(user.department -eq "Sales")
-
-
- Devices running Windows 10:
-
(device.operatingSystem -eq "Windows") and (device.operatingSystemVersion -startsWith "10")
-
-
- Including Users from Two Groups Based on Group Object ID:
If you want to include users from two specific groups (e.g., Group A and Group B) based on their group object IDs, you can use the following dynamic membership query:
- Including Users from Two Groups Based on Group Object ID:
-
user.memberOf -any (group.objectId -in ["7815c62f-78aa-4532-b07f-7d8a8ae0f0ce", "c6f975f5-26fa-4a25-96ce-af53d1bc876c"])
-
- Validate your query using the Validate Rules feature.
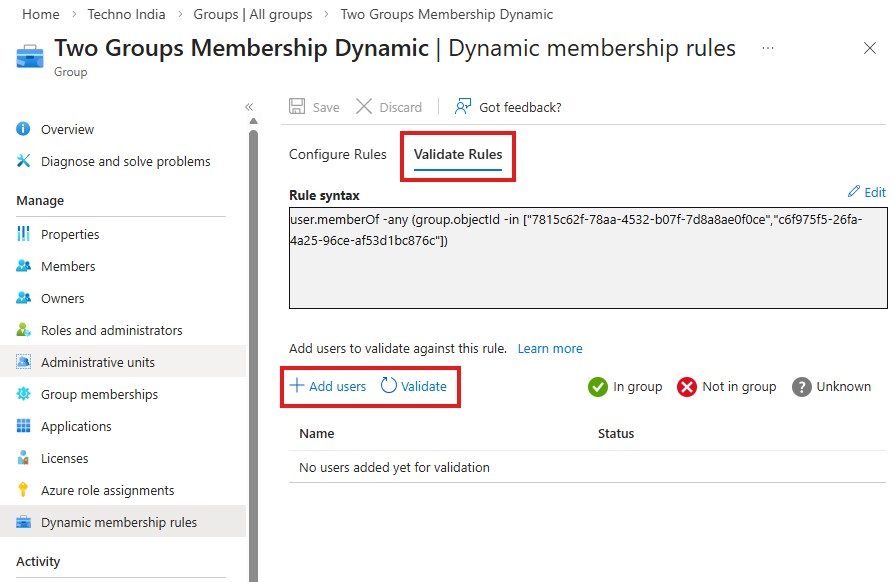
- Validate your query using the Validate Rules feature.
- Save and Review:
- Click Save to finalize the group creation.
- Review the group to ensure the correct members are included based on the rules.
✅ Pro Tip
You can simply provide a prompt to ChatGPT to help create a Microsoft Entra ID Dynamic Group rule. ChatGPT can generate either a rule builder concept or the rule syntax that you can paste directly into the rule syntax box in Microsoft Entra ID.
Use the generated rule as a reference, then modify the values with real attributes from your tenant and validate the membership to ensure it works as expected.
⚠️ Important limitation:
Membership validation is not supported when the rule includes two or more groups. This is a current Microsoft limitation.
How to Create an Autopilot Device Group in Microsoft Intune
If you are planning to use Windows Autopilot, you can create the following Microsoft Entra ID Dynamic Group. This group will automatically add new devices and ensure that they are included in your Intune Autopilot configuration group. You can either upload hardware hashes manually, or if you have Autopilot OEM registration, the device’s hardware hashes will automatically be uploaded once the device is activated. This means that when a device is activated or restarted, it will automatically be added to the dynamic group, which is already linked to the Autopilot configuration. As a result, everything will be automatically configured according to the assigned profile. To get a better understanding of how this process works, check out our detailed Intune guide.
- Login to Microsoft Entra ID or Intune Portal
- Navigate to Groups Section in the Left Pane
- Create a New Group:
- Group type: Security
- Group Name: Autopilot Devices Group
- Group Description (Optional): Provide a brief description to help other admins understand the group’s purpose.
- Microsoft Entra roles can be assigned to group: NO
- Membership type: Dynamic Device
- Owner: Select users who will manage this group
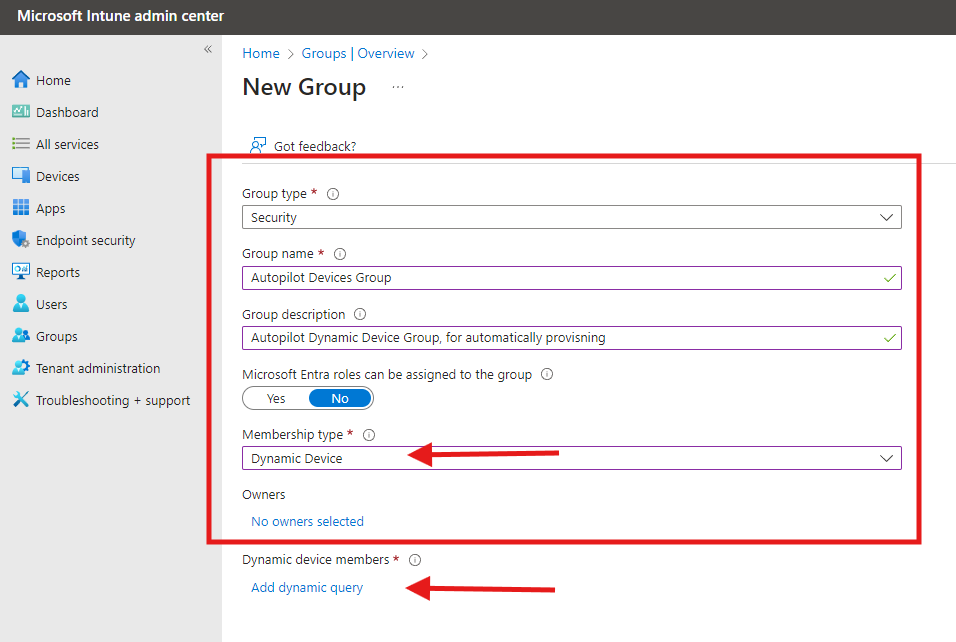
- Dynamic Device Members: Add the following query:
(device.devicePhysicalIDs -any (_ -startsWith "[ZTDid]"))
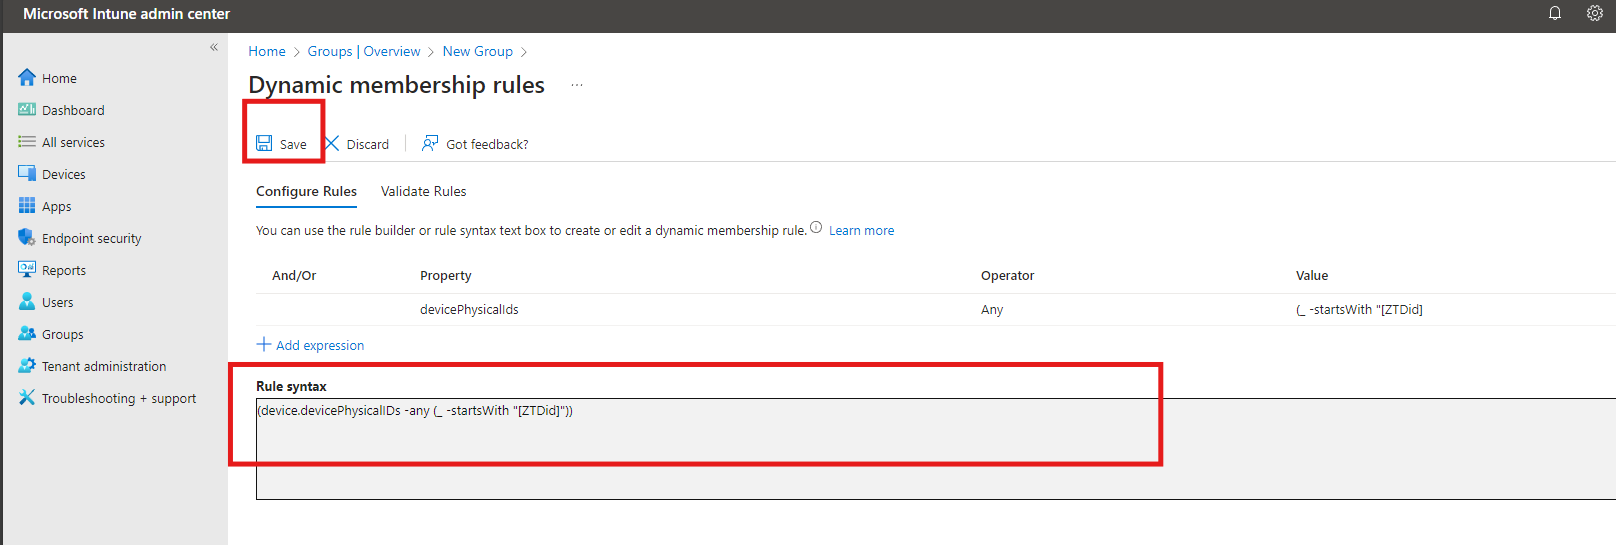
- This rule includes all devices registered with Windows Autopilot.
- Save the expressions once completed.
Best Practices for Using Microsoft Entra ID Dynamic Groups
To get the most out of Microsoft Entra ID Dynamic Groups, follow these best practices:
- Keep Rules Simple: Complex rules can lead to errors or performance issues. Try to use straightforward queries whenever possible.
- Test Rules Before Deployment: Always validate your dynamic membership rules in a test environment before applying them to production groups.
- Monitor Group Membership Regularly: Ensure the groups are still aligned with your requirements by periodically reviewing memberships.
- Document Rules: Maintaining clear documentation on your dynamic group rules will help with troubleshooting and future configuration changes.
- Avoid Conflicting Rules: Ensure that rules for different dynamic groups do not overlap or conflict unnecessarily.
Limitations of Microsoft Entra ID Dynamic Groups
While dynamic groups are powerful, there are a few limitations to be aware of:
- Licensing Requirement: Microsoft Entra ID Premium P1 or P2 is required to use dynamic groups.
- Rule Complexity: There’s limited support for advanced rule conditions or nested groups.
- Membership Evaluation Delay: Changes to attributes may take up to 24 hours to reflect in group membership.
- Static Members: You cannot manually add or remove members in a dynamic group. Membership is entirely rule-driven.
FAQs
- What attributes can I use for dynamic group rules?
You can use various attributes like department, location, job title, operating system version, and compliance state to define your dynamic group rules. - Can I combine static and dynamic memberships in a single group?
No, dynamic groups support only automated memberships. You cannot mix static members with dynamic rules in the same group. - How long does it take for dynamic group memberships to update?
Membership updates can take up to 24 hours, but changes are usually reflected within a few hours. - Can I use dynamic groups for assigning licenses?
Yes! Dynamic groups are an excellent way to automate license assignments based on user attributes like department or location.
Conclusion
Microsoft Entra ID Dynamic Groups offer an invaluable tool for streamlining group management and automating many aspects of your IT operations. Whether you’re managing users, devices, licenses, or access controls, dynamic groups can save you time, enhance security, and improve scalability. By setting up and leveraging dynamic groups properly, you can create an efficient, automated, and future-proof IT infrastructure.
So, if you’re not already using Microsoft Entra ID Dynamic Groups, now is the perfect time to start. By implementing the best practices and following the latest guidelines, you can simplify your group management and focus on what truly matters—your business’s success.
Relates URLs: –
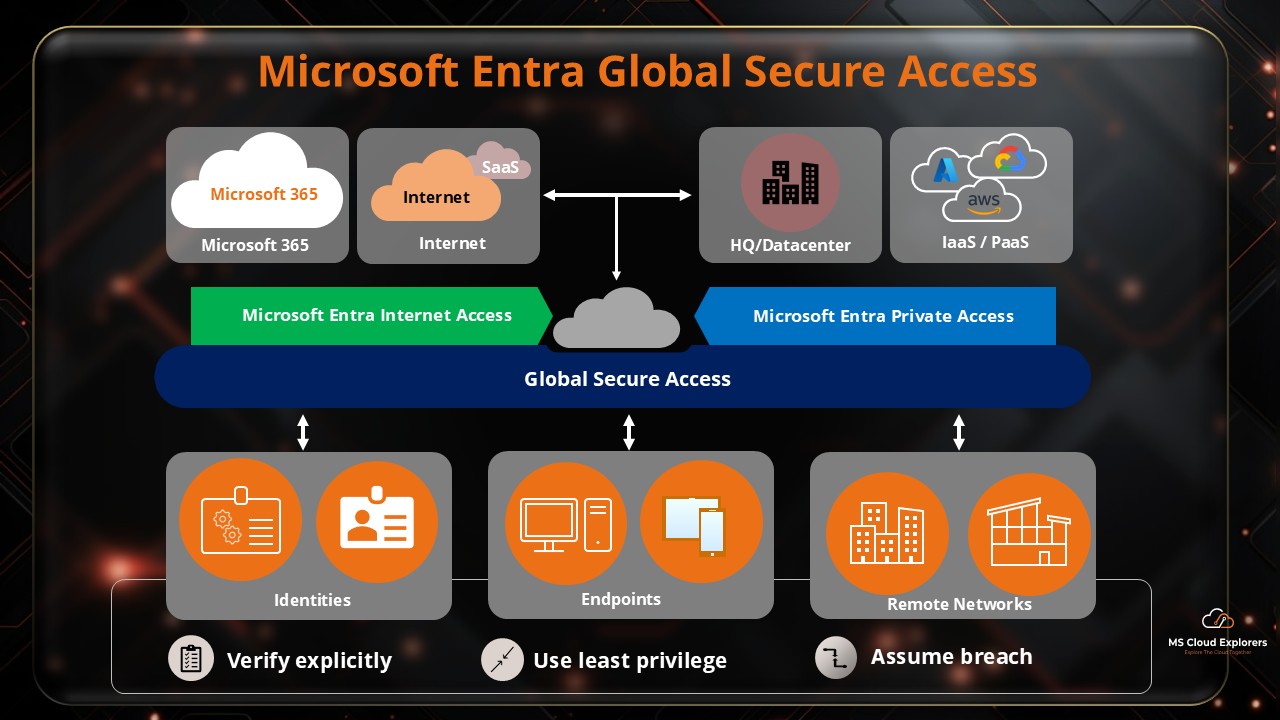
- Everything You Need to Know About Microsoft Global Secure Access
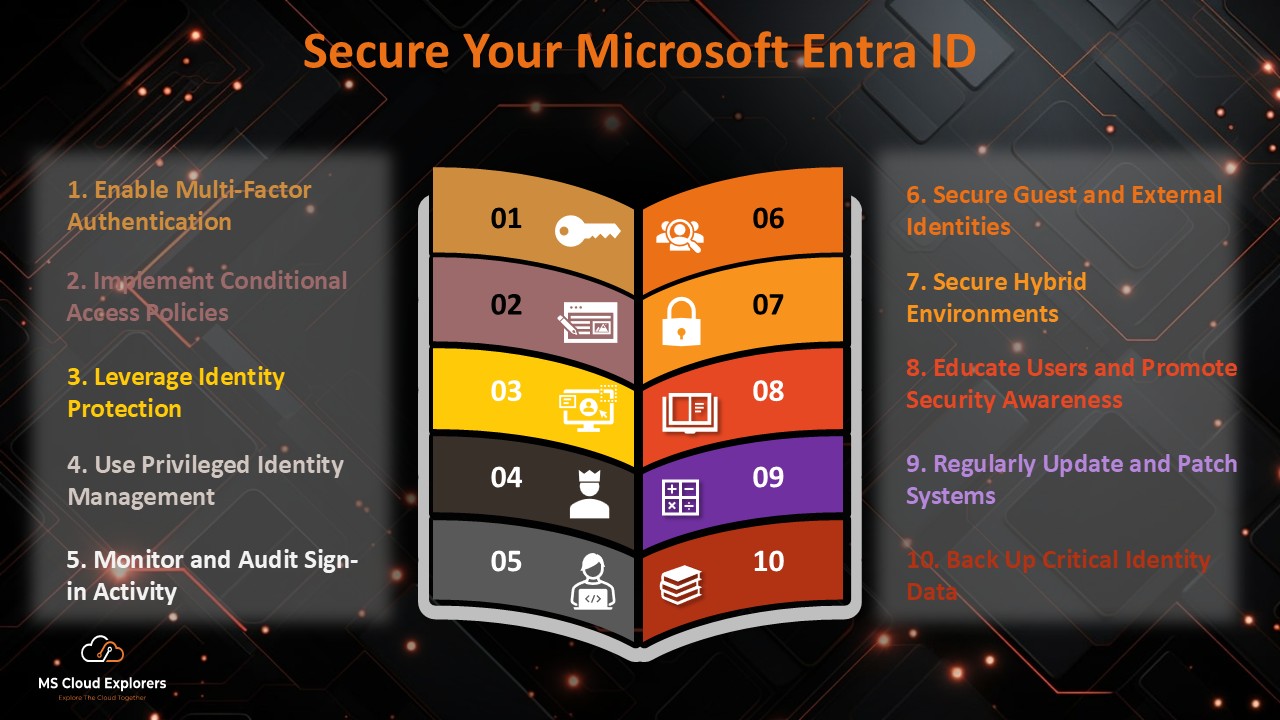
- Microsoft Entra ID Identity Protection: A Complete Guide to Securing Your Digital World
- Top 7 Conditional Access Policies Every Organization Should Implement (Entra ID Conditional Access)
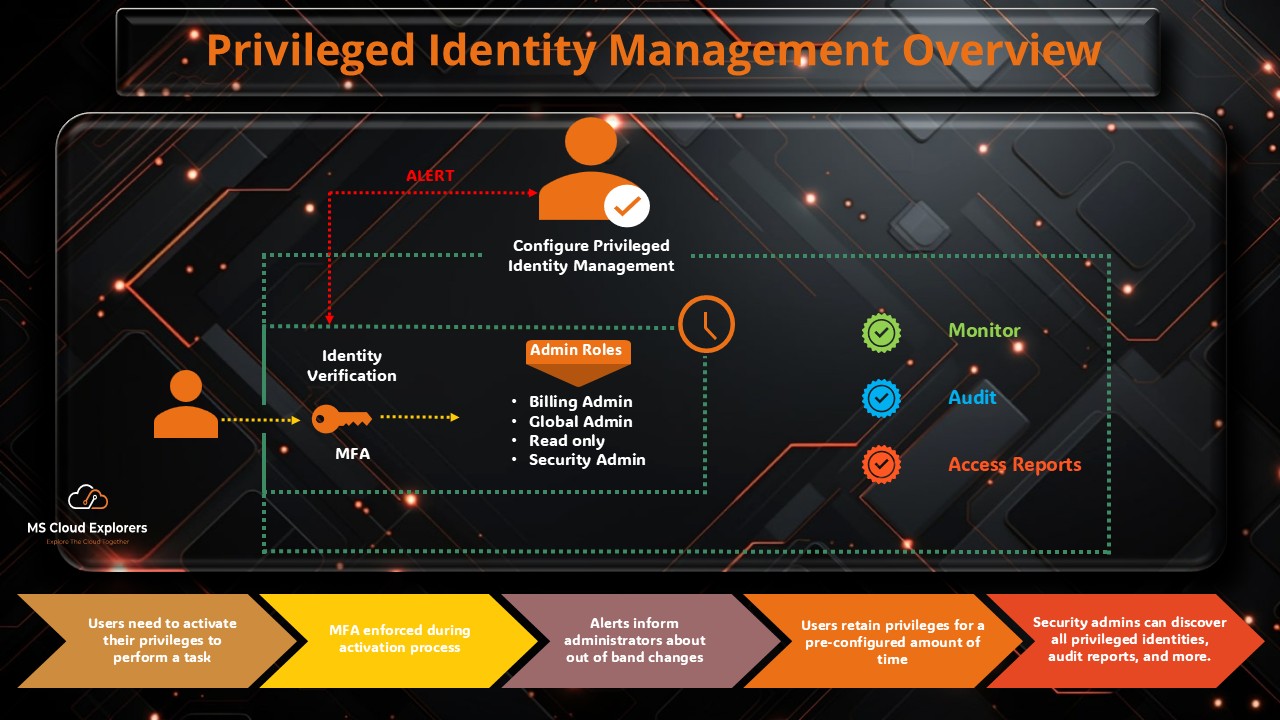
- Complete Guide to Privileged Identity Management in Azure AD
Enjoyed the article?
We’d love to hear your thoughts—share your comments below!
For more insights, guides, and updates from the Microsoft ecosystem, be sure to subscribe to our newsletter and follow us on LinkedIn. Stay connected and never miss out on the latest tips and news!


6 comments on “Understanding Microsoft Entra ID Dynamic Groups: A Complete Guide”