
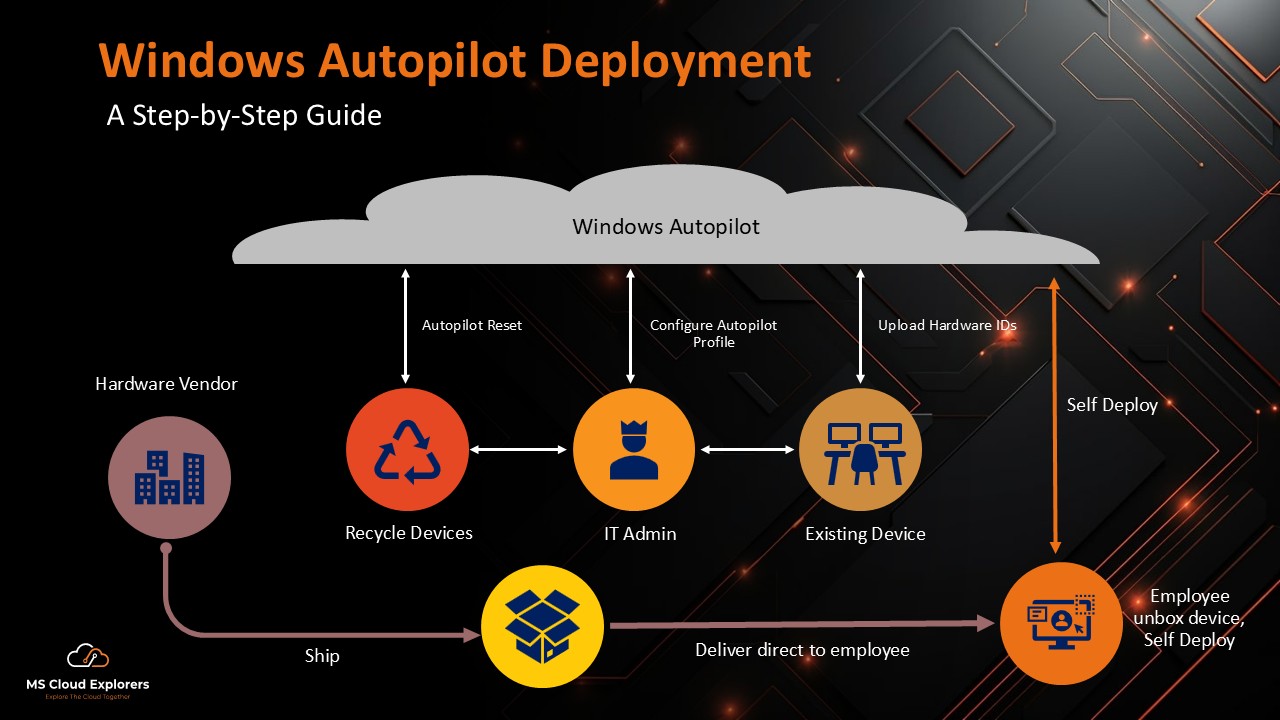
Managing Windows device deployment at scale can be challenging—especially with remote users, frequent device refreshes, and limited IT resources. Windows Autopilot solves this by enabling cloud-based, zero-touch device provisioning.
Using Windows Autopilot, IT admins can preconfigure devices with required apps, security policies, and settings before the user even signs in. Once the user logs in with their corporate account, the device configures itself automatically.
This blog walks you through how Windows Autopilot works, common deployment scenarios, prerequisites, and step-by-step guidance to help you implement it efficiently in your environment.
What is Windows Autopilot?
Windows Autopilot, a collection of cloud-based technologies by Microsoft, streamlines the deployment and configuration of new devices. It helps IT professionals prepare devices for productive use with minimal effort. Autopilot can also reset, repurpose, and recover devices while maintaining compliance with organizational standards.
Advantages of Windows Autopilot
- Simplified Deployment: Uses the OEM-installed Windows OS, eliminating the need for custom images.
- Automation: Applies organizational policies and installs essential apps.
- Scalability: Supports remote deployment, saving time and resources.
- Integration: Seamlessly works with Azure Active Directory (AAD) and Microsoft Intune.
- Enhanced User Experience: Provides a streamlined, consistent setup process for end users.
Key Prerequisites for Windows Autopilot Deployment
- Supported Windows Versions: Windows 10/11 Pro, Enterprise, or Education editions.
- Licensing: Requires subscriptions such as Microsoft 365 Business Premium, Microsoft Intune, or Enterprise Mobility + Security (EMS). (Checkout Complete List)
- Azure Active Directory Premium: Essential for device enrollment and management (Premium P1 or P2)
- Internet Connectivity: Devices must connect to the internet during the deployment process.
Windows Autopilot Deployment Process Overview
- Register Devices: Capture the device hardware ID and upload it to the Microsoft Endpoint Manager admin center.
- Create Deployment Profiles: Define policies, settings, and apps for devices.
- Assign Profiles: Link devices to deployment profiles for automated configuration.
- Monitor Deployment: Track the process and ensure all configurations are applied successfully.
Step-by-Step Windows Autopilot Setup
For the old and exiting devices:
1. Capture Device Hardware ID
- Create the Hyper-V virtual machine for testing purposes, or use an actual machine if preferred.
- Open PowerShell and run:
md c:HWID
Set-Location c:HWID
Set-ExecutionPolicy -Scope Process -ExecutionPolicy Unrestricted -Force
Install-Script -Name Get-WindowsAutopilotInfo -Force
Get-WindowsAutopilotInfo.ps1 -OutputFile AutopilotHWID.csv
- Select Yes when the NuGet package installation option appears.

- Goto C Drive and you should see the HWID Folder.
- Save the generated AutopilotHWID.csv file for registration.
2. Alternative option to have Upload the Hardware Hash online to an Intune portal
This method is ideal for new devices for non-OEM registered. By registering devices through the OEM program, the hardware hash is automatically added to the Intune portal upon device activation, making it the simplest and most recommended approach for new device enrollment.
Any device can have its hardware hash directly uploaded to an Microsoft Intune Portal, but it’s particularly helpful for devices that are going through OOBE and Windows Setup. To submit a device’s hardware hash directly:
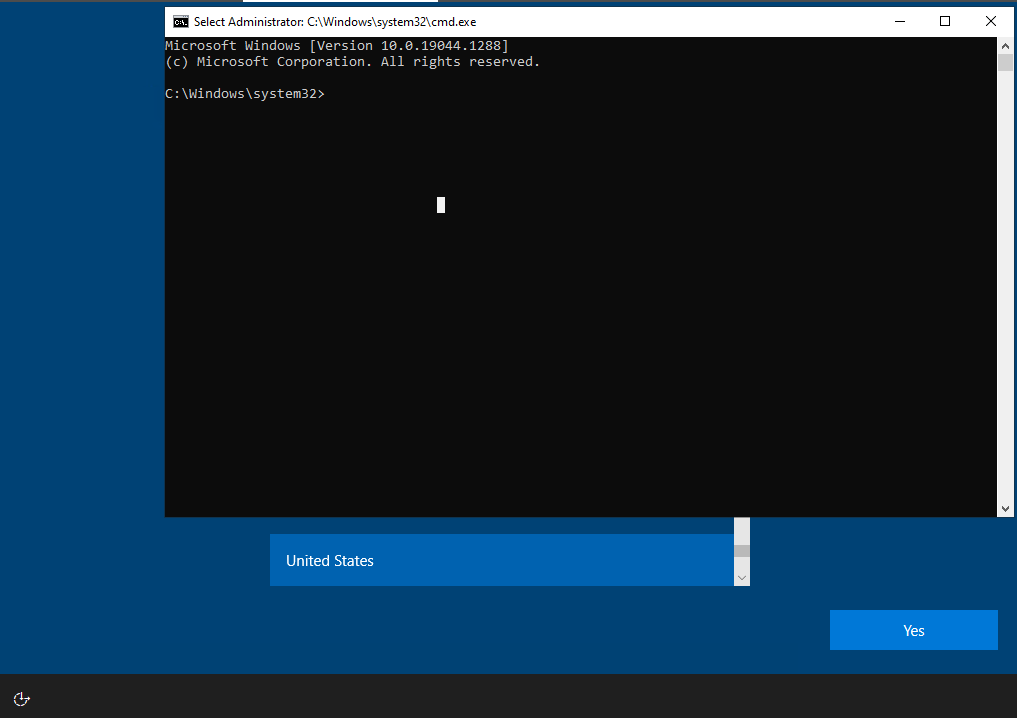
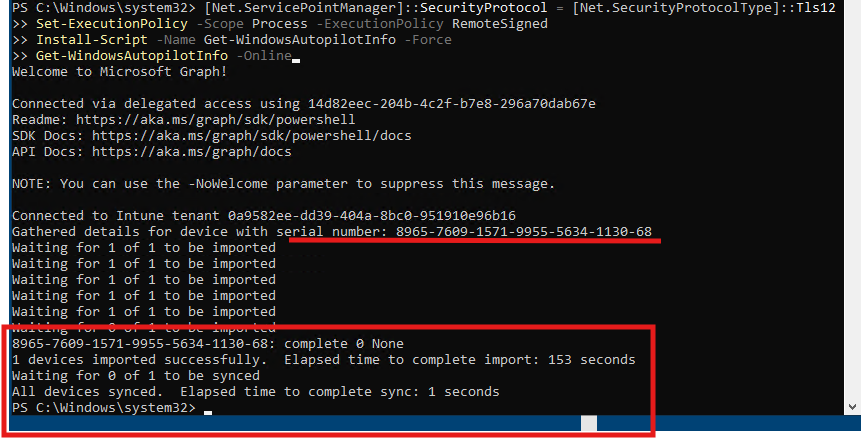
For a Device Having OOBE and Windows Setup:
- At the sign-in prompt after OOBE starts, open a command prompt window with the keystroke Shift+F10.
- Type the following commands at the PowerShell prompt windows:
powershell.exe
[Net.ServicePointManager]::SecurityProtocol = [Net.SecurityProtocolType]::Tls12
Set-ExecutionPolicy -Scope Process -ExecutionPolicy RemoteSigned
Install-Script -Name Get-WindowsAutopilotInfo -Force
Get-WindowsAutopilotInfo -Online
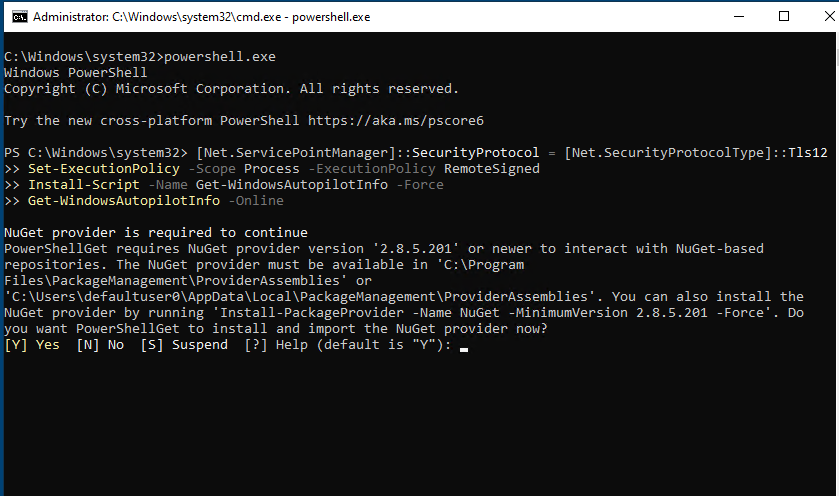
- Accept the installation of NuGet from the PSGallery when asked.
- When the Microsoft Entra ID sign-on prompt appears, log in using an account that is at least an Intune Administrator.
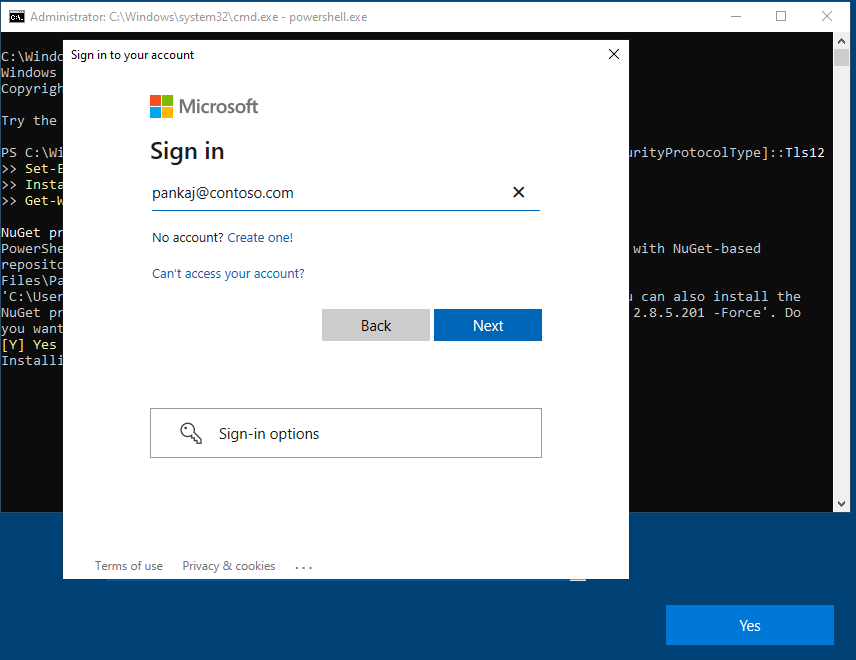
- Approve the required app registration permissions if prompted. The hardware hash uploads automatically.
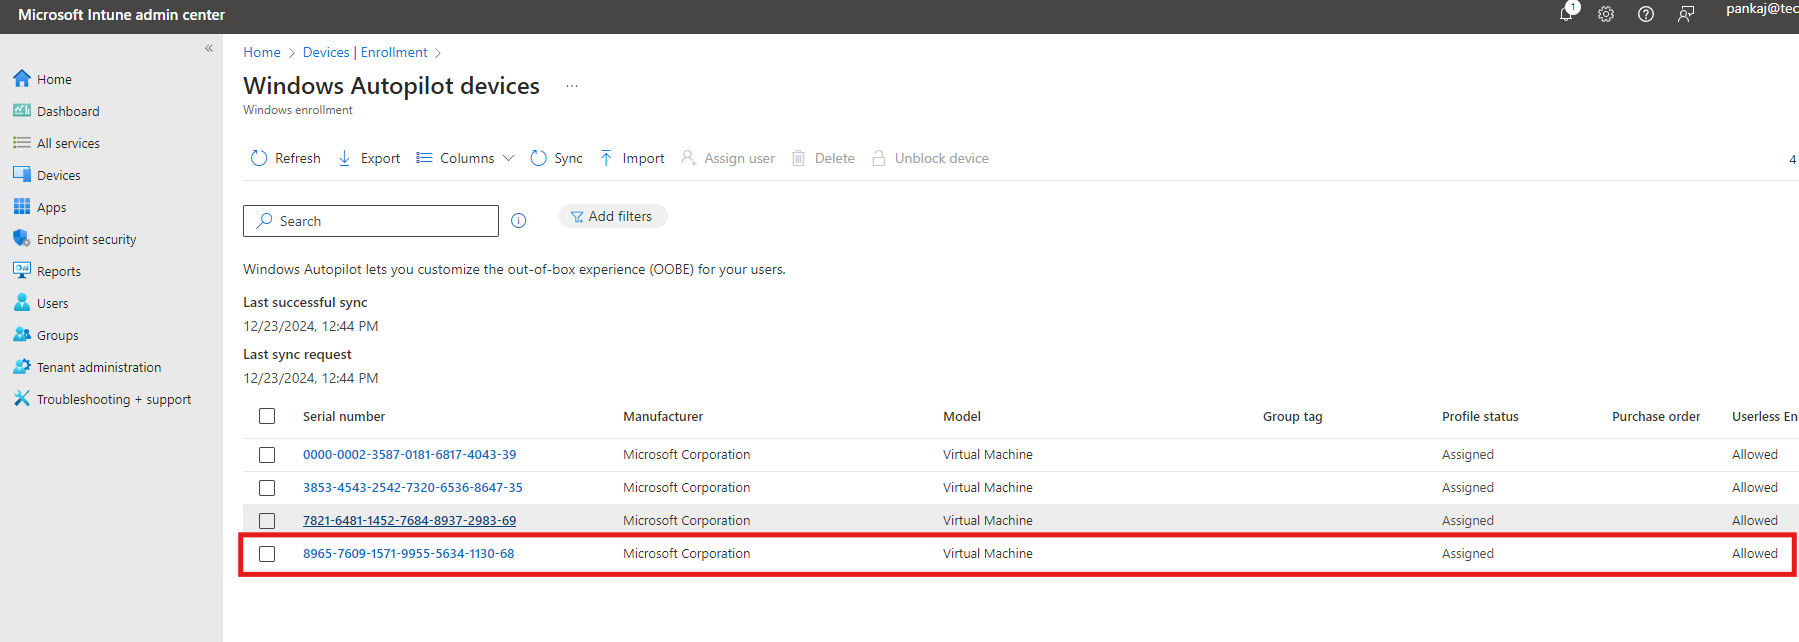
3. Verify the Hardware Hash Upload
- Login to the Microsoft Intune or Endpoint Portal.
- Navigate to Devices on the left-hand pane.
- Under Devices | Overview, select Windows under By platform.
- Go to Windows | Device onboarding > Enrollment > Windows Autopilot > Devices.
- Select Sync in the toolbar.
- Wait for the sync to finish. The sync might take several minutes.
- The device will show up in the device list on the Windows Autopilot devices tab in Intune once the sync is finished. Make sure the device has a Windows Autopilot profile assigned to it.
Restart the device if it’s going through Windows Setup and OOBE. It will pick up the Windows Autopilot profile, and OOBE will run through the provisioning process.
4. Register Devices in Intune
- Log in to the Microsoft Endpoint Manager admin center or Intune Portal.
- Navigate to Devices > Device Onboarding Enrollment > Windows Tab > Windows Autopilot option > Devices.

- Import the AutopilotHWID.csv file.
 5. Create Deployment Profiles
- In the Intune Portal Go to Devices >
- Device Onboarding Enrollment > Windows Tab>Windows Autopilot option > Deployment profiles.

- Click Create profile and configure:
- Deployment Mode: User-driven
- Join to Azure AD: Azure AD Joined
- User Account Type: Standard
- Hide Privacy Settings: Yes
 6. Assign Deployment Profiles
-
Link deployment profiles to device groups for seamless provisioning. By using dynamic device groups, new Autopilot devices are added automatically, ensuring a fully automated deployment process.
Follow this step-by-step guide to create dynamic groups for Windows Autopilot devices.
7. Test the Deployment
- Reset the device to Out-of-Box Experience (OOBE).
- Turn on the device, connect to the internet, and follow the OOBE steps.
- Log in using Azure AD credentials to trigger the deployment.
Troubleshooting Tips
- Device Not Appearing in Intune: Ensure the hardware ID file is correctly formatted and uploaded.
- Deployment Stuck at a Step: Check network connectivity and Intune configurations.
- Licensing Issues: Verify that the required Azure AD and Intune licenses are active.
FAQs
- Can Windows Autopilot be used with existing devices?
Yes, devices can be reset to OOBE and enrolled in Autopilot for repurposing. - How does Autopilot ensure security?
Autopilot enforces organizational compliance through Azure AD and Intune policies during deployment. - Is internet access mandatory for Autopilot deployment?
Yes, devices must connect to the internet to communicate with Azure AD and Intune services. - Can Autopilot configure third-party applications?
Yes, applications can be added to deployment profiles for automatic installation during setup. - What happens if a device is lost or stolen?
Devices enrolled in Autopilot can be remotely locked, wiped, or reset to ensure data security. - What is the purpose of using Windows Autopilot?
Windows Autopilot simplifies the device deployment process, automates configuration, and ensures compliance, reducing IT workload and enhancing user productivity. - How does Windows Autopilot work?
Windows Autopilot works by leveraging cloud-based technologies to configure devices during the Out-of-Box Experience (OOBE). It applies policies, installs apps, and joins devices to Azure Active Directory, making them business-ready. - Which device or devices can be deployed by using Windows Autopilot?
Windows Autopilot supports the deployment of Windows 10/11 Pro, Enterprise, and Education devices. It can be used with physical hardware and virtual machines.
Conclusion
Windows Autopilot simplifies the deployment process, enabling organizations to deliver a seamless, efficient, and secure experience for end users. With its robust capabilities and integration with cloud services, it’s a game-changer for modern device management.
Related URLs:-
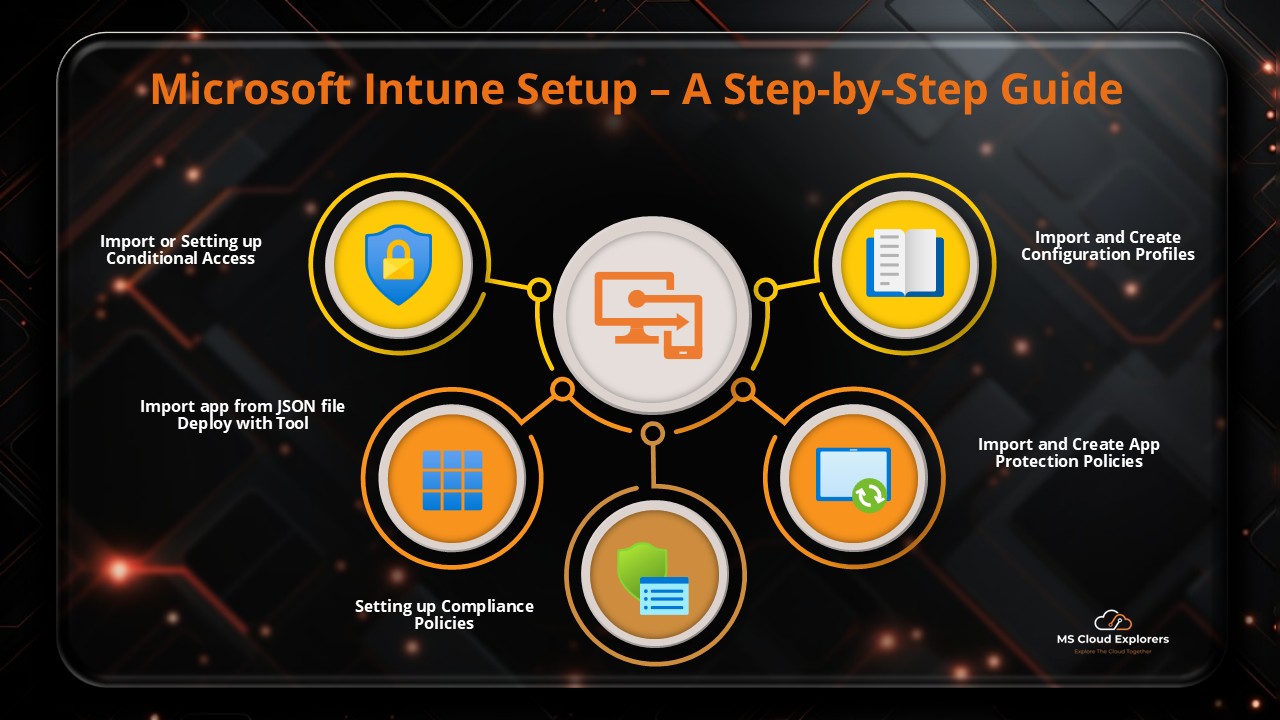
- Step-by-Step guide on how you can setup the Microsoft Intune
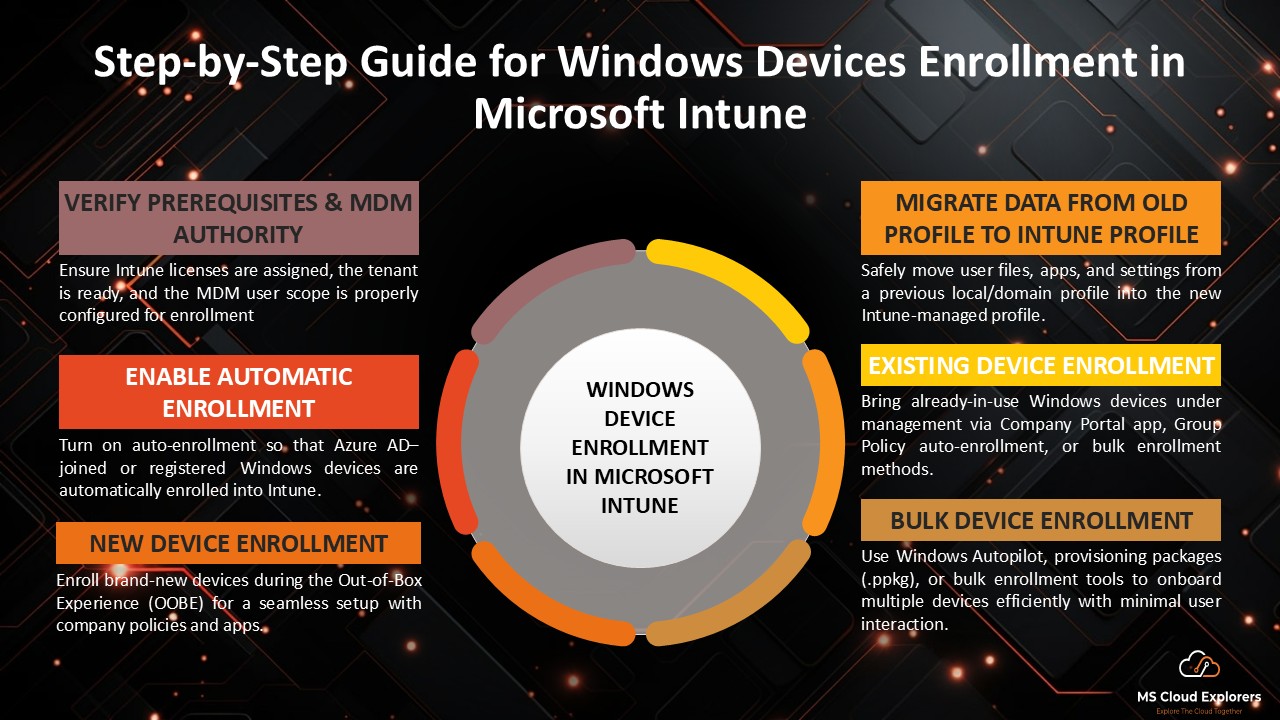
- Step-by-Step Guide for Windows Devices Enrollment in Microsoft Intune
- Microsoft Endpoint Manager (Intune): Comprehensive Beginner’s Guide
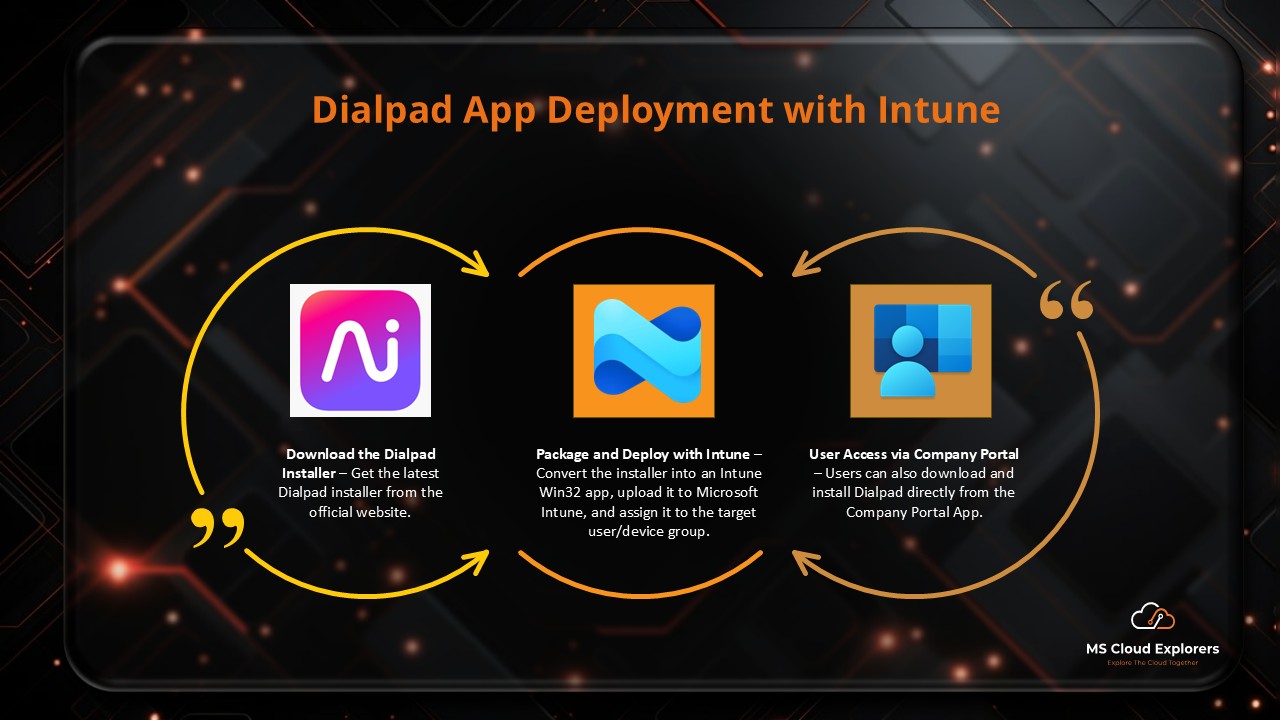
- Step-by-Step Guide to Package and Deploy Dialpad App Using Intune
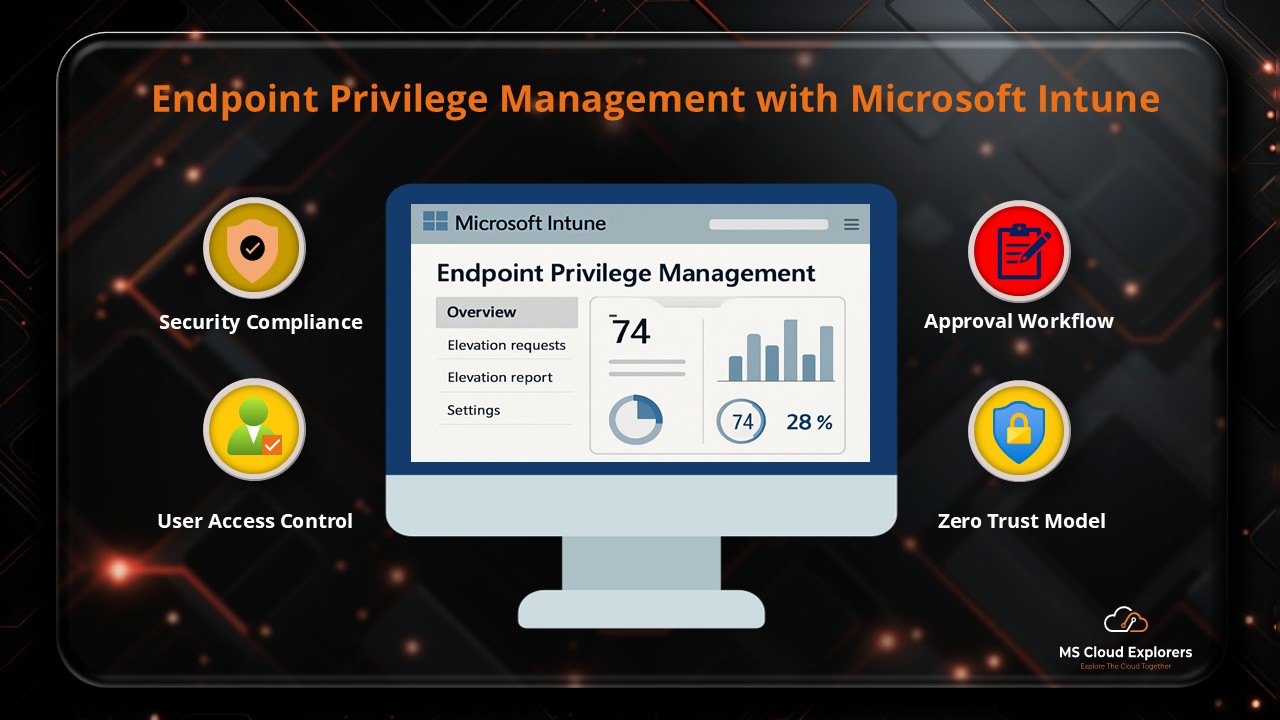
- Mastering Endpoint Privilege Management (EPM) in Microsoft Intune
Enjoyed the article?
We’d love to hear your thoughts—share your comments below!
For more insights, guides, and updates from the Microsoft ecosystem, be sure to subscribe to our newsletter and follow us on LinkedIn. Stay connected and never miss out on the latest tips and news!
4 comments on “Windows Autopilot Deployment: A Step-by-Step Guide (2026)”