eDiscovery in Office 365 is a built-in tool that helps legal, compliance, and IT teams quickly find and collect data across Microsoft 365 apps—like Outlook, Teams, SharePoint, and OneDrive. Whether it’s locating missing emails or gathering documents for an investigation, eDiscovery makes it easier to search, preserve, and export the right content without digging through individual accounts manually.
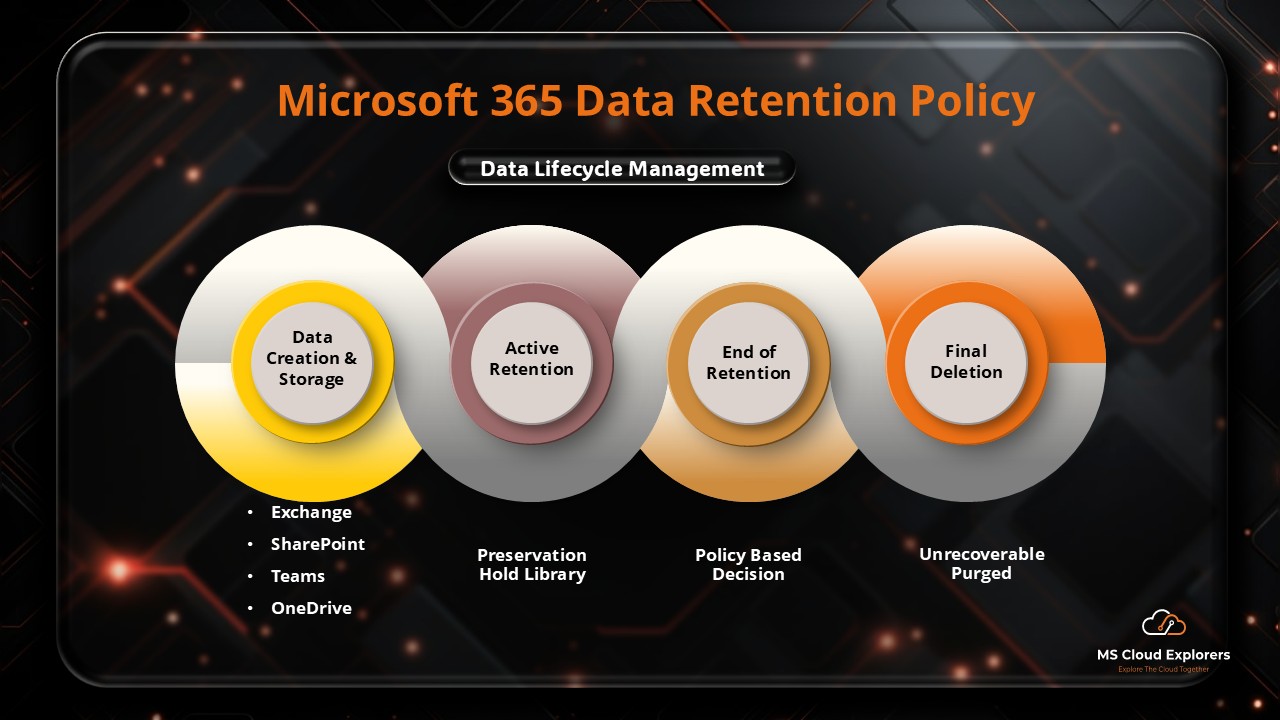
Just as important is having a clear data retention policy in place. Users often delete important emails or files—sometimes by accident. If that data is permanently removed, even eDiscovery may not be able to recover it. That’s where retention policies come in. They automatically keep key information for a set time, even if users try to delete it. Office 365 includes this feature at no extra cost, making it a simple yet powerful way to protect business-critical data and stay compliant.
Understanding eDiscovery Office 365 provides two types of eDiscovery solutions:
Core eDiscovery vs. Advanced eDiscovery
| Feature | Core eDiscovery | Advanced eDiscovery |
|---|---|---|
| Purpose | Basic search and export needs | Advanced legal and compliance investigations |
| Legal Hold | Not available | Yes, applies to mailboxes, OneDrive, SharePoint, and Teams |
| Review & Tagging | Limited | Includes tagging, relevance scoring, and analytics |
| Export Options | PST, CSV | Deduplication and AI-based relevance filtering |
| Analytics & AI | No AI filtering | Machine learning-based data analysis |
🔹 Key takeaway: If your organization deals with litigation or regulatory compliance, Advanced eDiscovery provides deeper insights and efficiency.
Content Search vs. eDiscovery in Office 365: What’s the Difference?
While eDiscovery in Office 365 is designed for legal and compliance needs, Content Search is a simpler tool mainly used by IT admins to search for data across Microsoft 365 services like Exchange, SharePoint, OneDrive, and Teams. Both tools help you find and export information, but they serve different purposes.
Use Content Search when you need to quickly search and export data for internal reviews, user requests, or troubleshooting. It’s fast, straightforward, and doesn’t require setting up a case.
Use Office 365 eDiscovery when you need to preserve, review, or hand over data for legal matters. O365 eDiscovery supports legal holds, role-based access control, and audit trails—features that are essential during investigations or lawsuits.
| Feature / Use Case | Content Search | eDiscovery Case |
|---|---|---|
| Purpose | General data search and export | Legal and compliance investigations |
| Use Case | HR needs to check old emails of a former employee | Legal team needs to preserve and review emails for a case |
| Setup | Quick and simple | Requires case creation and configuration |
| Data Preservation (Hold) | Not supported | Litigation Hold or Legal Hold |
| Audit Tracking | Limited | In-depth, case-specific auditing |
| Workflow | Simple, one-off tasks | Structured, multi-step process |
| Best For | IT admins, standard queries | Legal, compliance, HR teams handling investigations |
| Export Options | Simple PST or CSV exports | Advanced export with metadata and legal compliance formats |
Pre-requisites for Using eDiscovery
Before you begin, ensure you have the necessary permissions and licenses.
Licensing Requirements:
- Core eDiscovery – Included in Microsoft 365 E3 plans.
- Advanced eDiscovery – Requires Microsoft 365 E5 license.
Compliance Center Access:
Admins wondering how to access eDiscovery can do so via the Microsoft Purview Compliance Portal: https://compliance.microsoft.com
Required Permissions:
To access eDiscovery, users must have:✔ eDiscovery Manager role
✔ Compliance Administrator role (for advanced tasks and Manage All Cases)
In the Compliance admin Portal. Navigate to Settings and Roles and Scopes Section.

- Click on Role Groups Under the Roles and Scopes
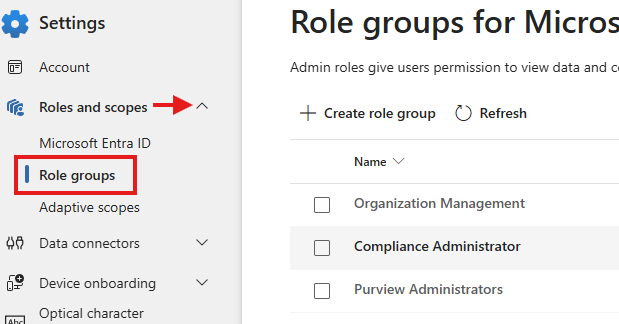
Search the eDiscovery Manager role to manage permissions and ensure users can access necessary eDiscovery features.
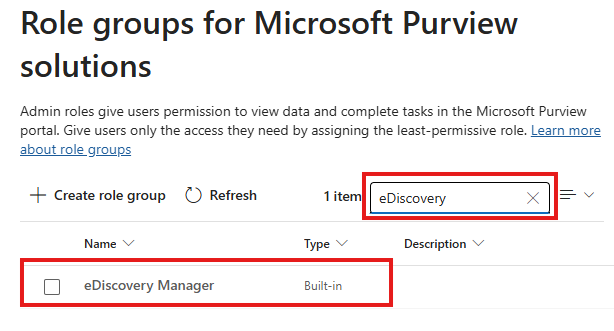
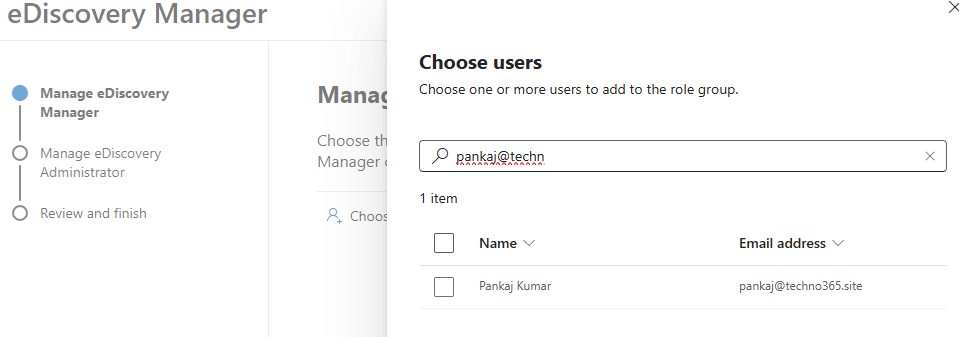
- Click on the edit, Under the eDiscovery Manager
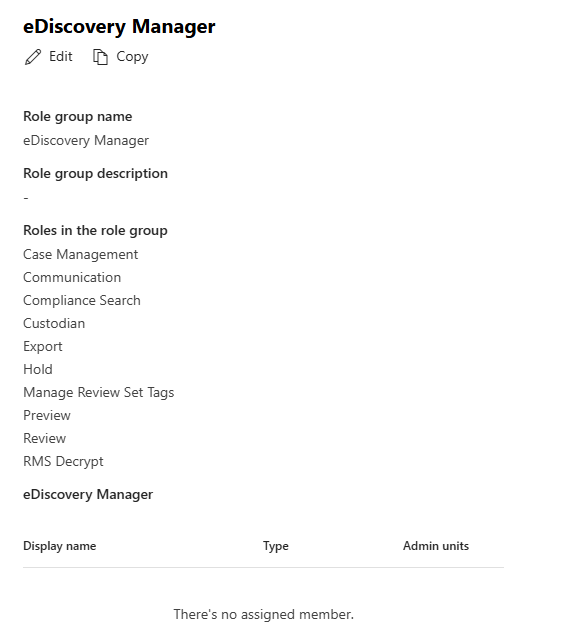
Search the user and assign the eDiscovery Manager and Administrator role.
Difference Between eDiscovery Manager and eDiscovery Administrator
In Microsoft Purview eDiscovery, both eDiscovery Managers and eDiscovery Administrators have different levels of permissions and responsibilities.
1. eDiscovery Manager
- Can create, manage, and execute eDiscovery cases but within the scope assigned to them.
- Has access only to specific cases they are assigned to.
- Can search, place holds, and export data for investigation purposes.
- Typically assigned to compliance officers, legal teams, or IT staff handling specific eDiscovery cases.
2. eDiscovery Administrator
- Has full control over all eDiscovery cases in the organization.
- Can assign eDiscovery Managers and define their permissions.
- Can access, edit, and manage all cases, even those they did not create.
- Can set up eDiscovery policies and manage organization-wide legal compliance.
Once role is assigned, You can create the Case.
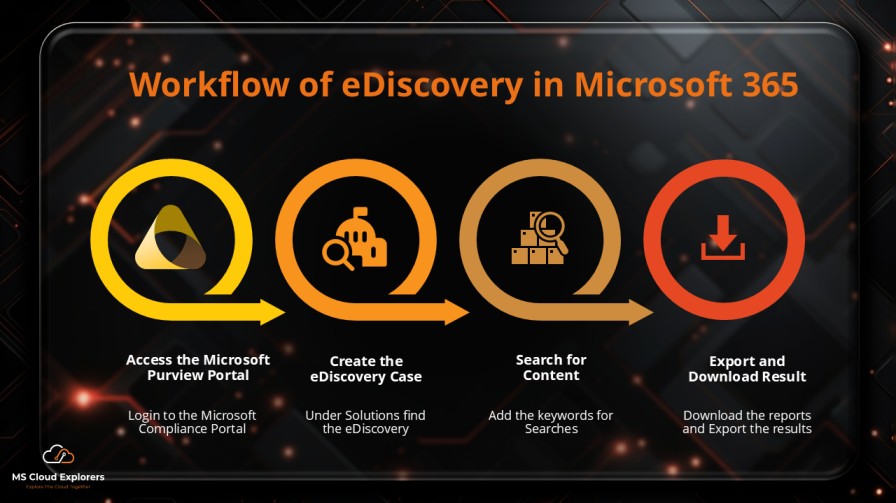
Step-by-Step Guide to eDiscovery in Office 365
Step 1: Accessing the Microsoft Purview Compliance Portal
- Sign in to Microsoft 365 Compliance Center.
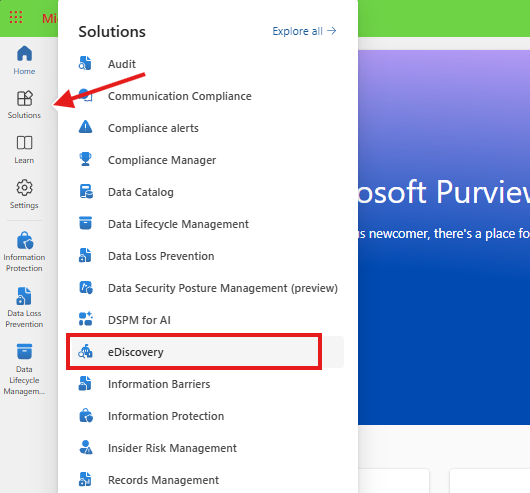
- Navigate to eDiscovery under Solutions.
- Choose between Standard Cases or Premium Cases.
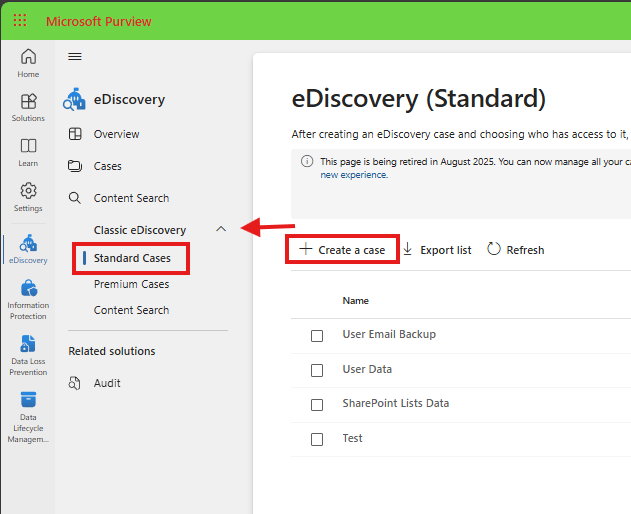
Step 2: Creating an eDiscovery Case
- Click Create a Case in the eDiscovery dashboard.
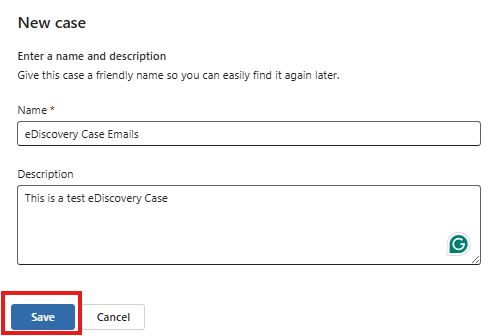
- Enter a Case Name and Description.
- Click Save to create the case.
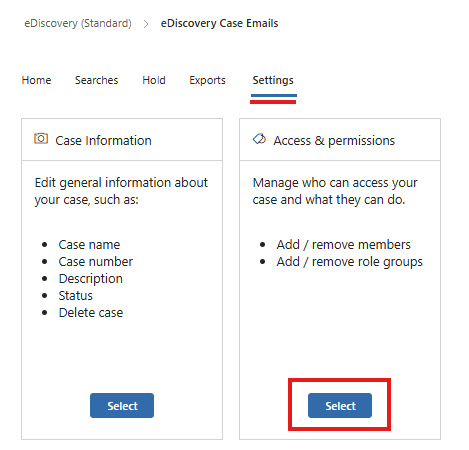
Step 3: Assigning Permissions to Users
- Open the eDiscovery case.
- Go to Settings > Access & Permissions.
- Add users and assign roles (e.g., Reviewer, Investigator).
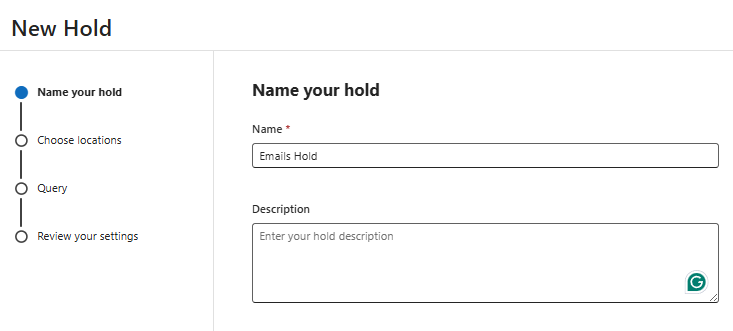
Step 5: Placing Content on Legal Hold
- Navigate to the Hold section.
- Click Create Hold and select the data source:

- Give a Name and Description of the Hold
- Choose the Locations and select the data source:
- Exchange (Emails)
- SharePoint/OneDrive (Documents)
- Teams (Conversations)
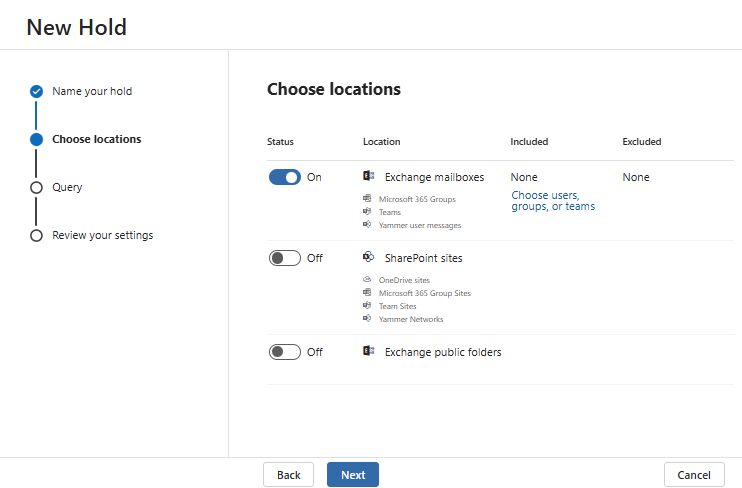
For demonstration purposes, we are selecting Exchange Mailboxes only. You can choose other locations based on your organization’s requirements.
- Select the Query Filter for Seach

Similarly, you can select multiple filters as needed.
- Review the Hold Case and click Submit.

You can skip Hold in eDiscovery if there is no need to preserve data for a legal case, investigation, or compliance requirements. However, if you are required to retain data for legal or regulatory reasons, applying a Hold is recommended. Skipping it may lead to data loss if users delete or modify content before the investigation is complete.
Step 6: Running a Content Search
- Click New Search in eDiscovery.
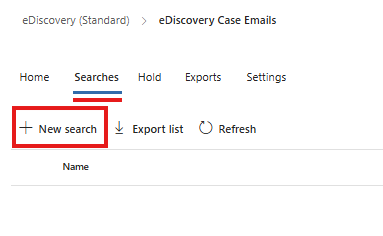
Give a Name and Description of the New Search
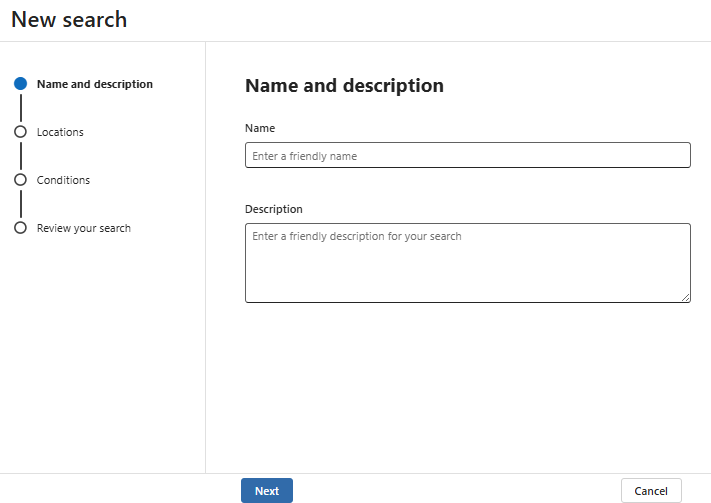
- Select the Location Exchange Mailboxes.
- Use filters such as:
- Keywords (e.g., “confidential project”)
- Date Ranges
- Specific Users or Groups

- Review search results and refine as needed.

Step 6: Exporting and Downloading Data
- Select the desired search.
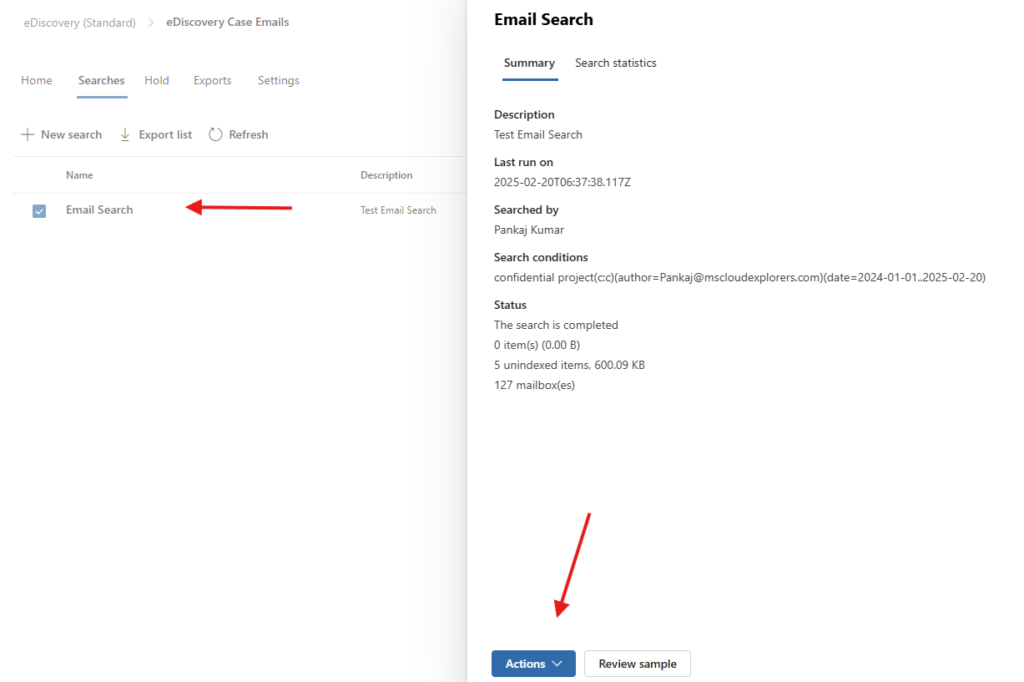
- Click Actions and choose Export Results, You can also Export the report.

- In the Export Result Window. Select the Output Options and Export Exchange file for each Mailboxes.
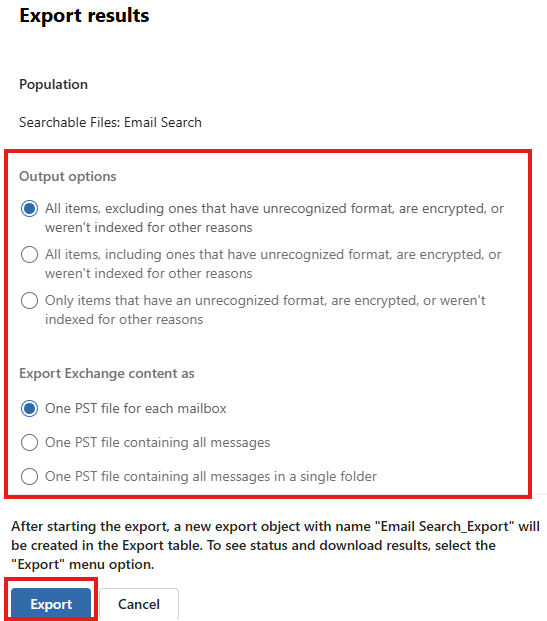
- You Should see the pop windows when you click on Export.
If you encounter an error, please check the roles assigned to your account. Additionally, errors may occur if your browser does not support the required features or if you are logged in using an InPrivate browsing session. For the best result, use Microsoft Edge.
Step 7: Download the Seach case
- In the eDiscovery Navigate to the Export Section.
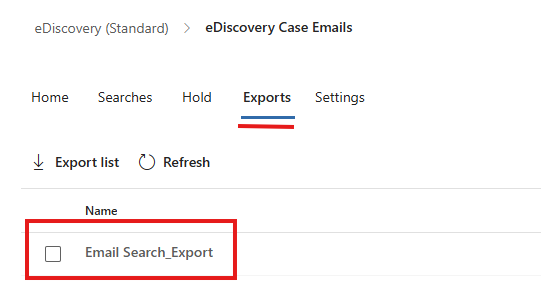
- Select the Search Export and Click on the Download Result at the Top.
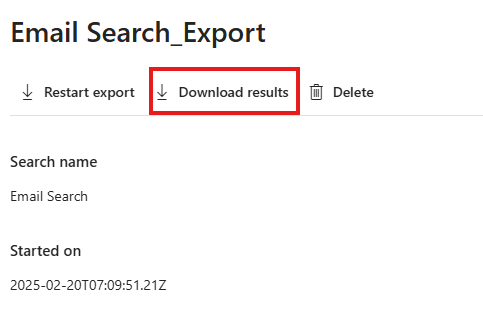
It may take some time for the Download Results option to become available. Please wait for the process to complete and check again.
- Use the Microsoft eDiscovery Export Tool to download files.
- Copy the Key from the export download Section in the Portal.
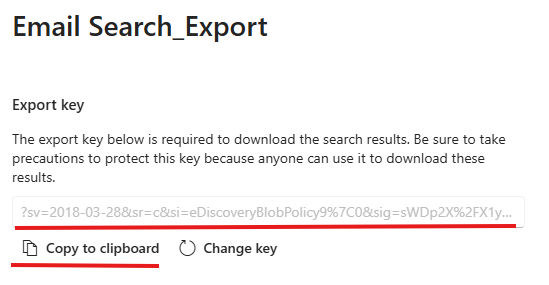
- In the eDiscovery Export Tool, paste the Export Key and select the location where you want to save the exported data.
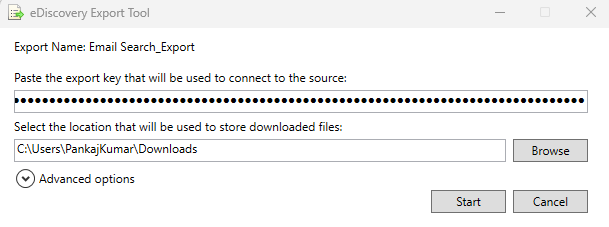
Once the export is complete, you will see the PST files in the selected location.
Step 8: Reviewing Exported Data in eDiscovery
- Import the PST file into the Outlook app to review the results.
- If you have a large amount of data, you can also use third-party software for better management and analysis: – Use the Free version of SysTools Outlook PST Viewer.
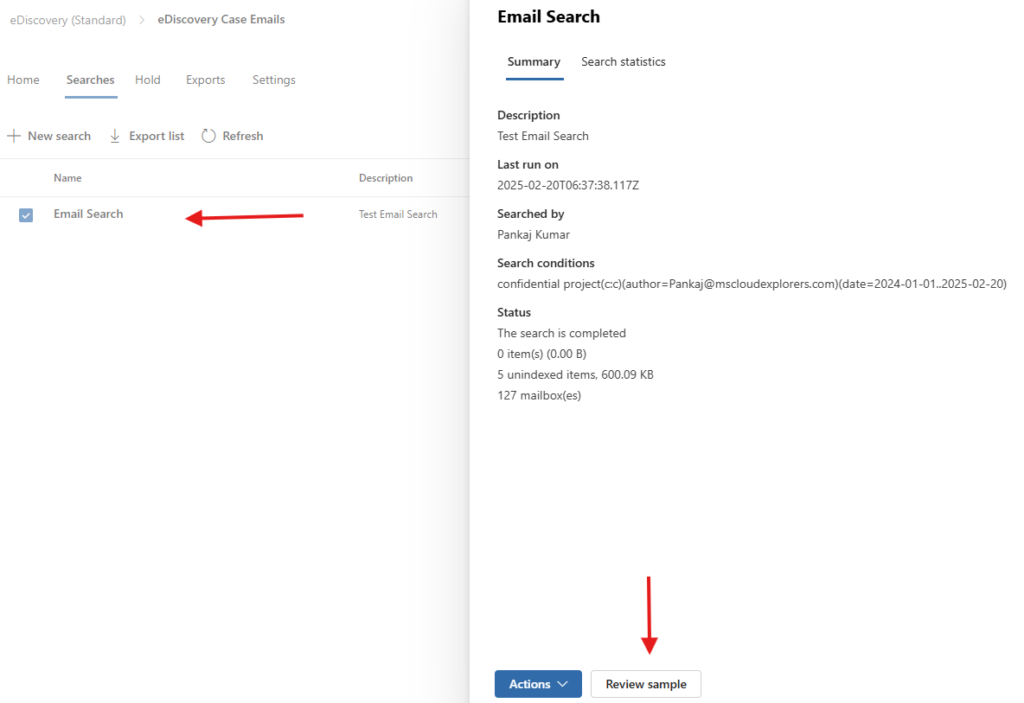
- Additionally, you can review a sample from the eDiscovery Searches section and download it directly from the Review section if your search results are small.
Best Practices for eDiscovery in Office 365
✔ Maintain detailed documentation for all cases.
✔ Regularly audit permissions to prevent unauthorized access.
✔ Train employees on data retention policies for compliance.
✔ Automate case notifications to streamline workflows.
Common Challenges and Solutions
🚀 Large Datasets – Use date filters to narrow search results.
🔒 Permission Issues – Ensure users have the eDiscovery Manager role.
⏳ Slow Searches – Follow indexing best practices for faster queries.
Conclusion
Microsoft 365 eDiscovery is a powerful tool for businesses to efficiently manage legal and compliance needs. By following this step-by-step guide, organizations can search, preserve, and export critical data with ease. Whether using Core eDiscovery for basic searches or Advanced eDiscovery for in-depth analysis, mastering these tools is essential for compliance teams.
FAQs
1. How long does an eDiscovery search take in Office 365?
It depends on dataset size and complexity, but most searches complete within a few minutes to an hour.
2. Can I recover deleted emails using eDiscovery?
Yes, as long as retention policies are in place and the data has not been permanently deleted.
3. Is eDiscovery included in all Microsoft 365 plans?
No, Core eDiscovery is available in E3, while Advanced eDiscovery requires an E5 license.
4. How do I ensure compliance with data retention policies?
Regularly review legal hold settings and configure compliance policies in the Compliance Center.
5. What happens if I remove a legal hold?
Data may be deleted permanently if no other retention policy is in place.
6. What is eDiscovery office 365?
eDiscovery in Office 365 (Microsoft 365) is a tool that helps organizations search, preserve, and export data from Exchange Online, SharePoint, OneDrive, Teams, and other Microsoft 365 services for legal, compliance, or investigative purposes.
Hey! Do you know if they make any plugins to safeguard against hackers?
I’m kinda paranoid about losing everything I’ve worked
hard on. Any tips?
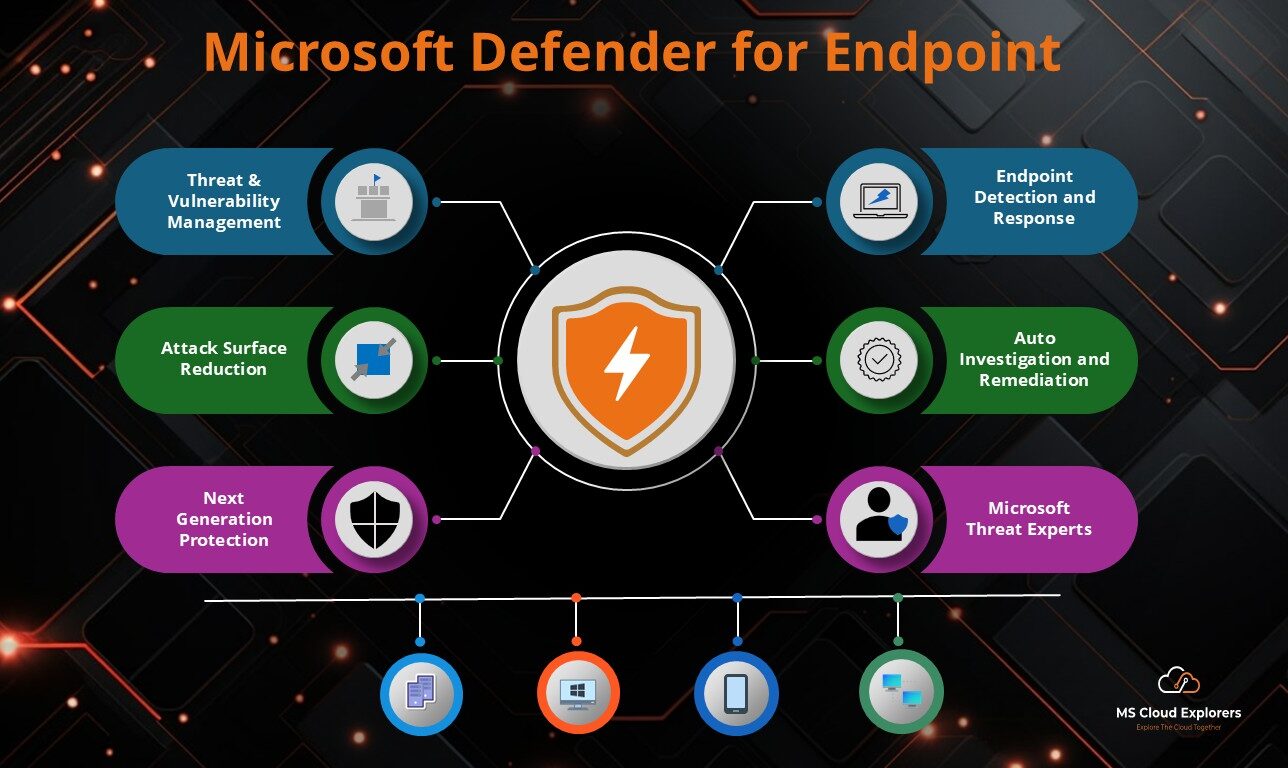
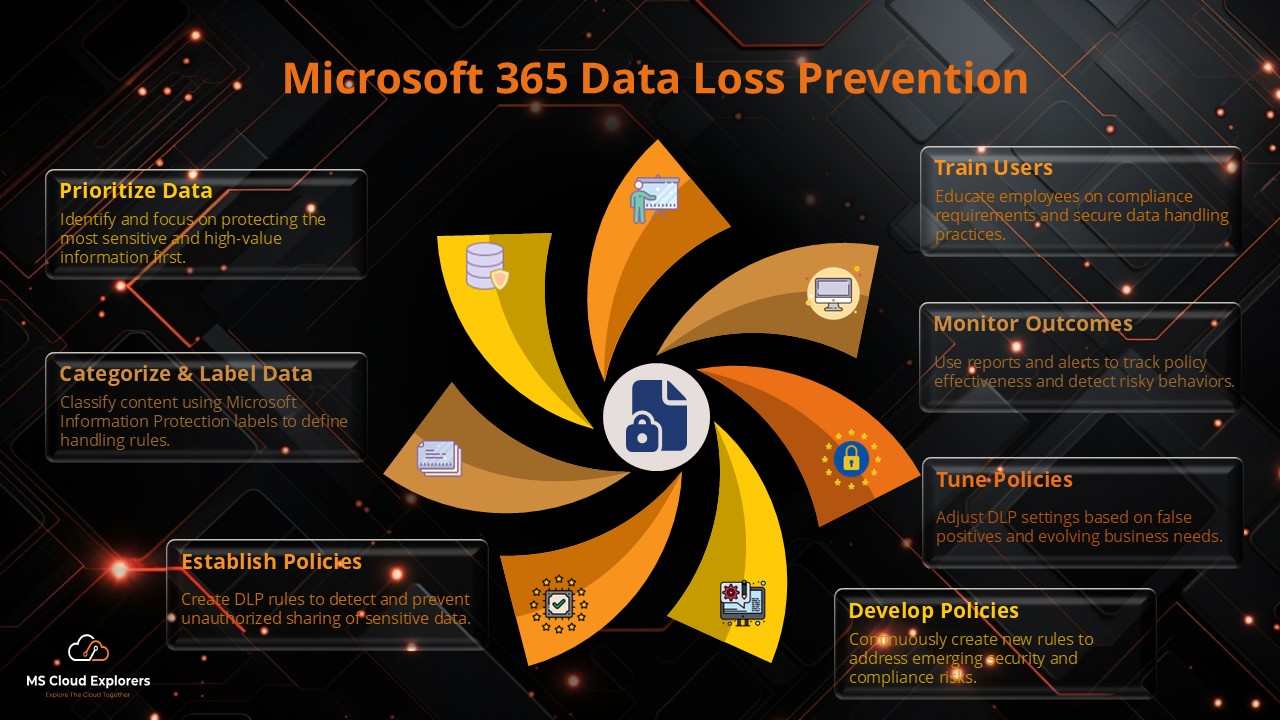
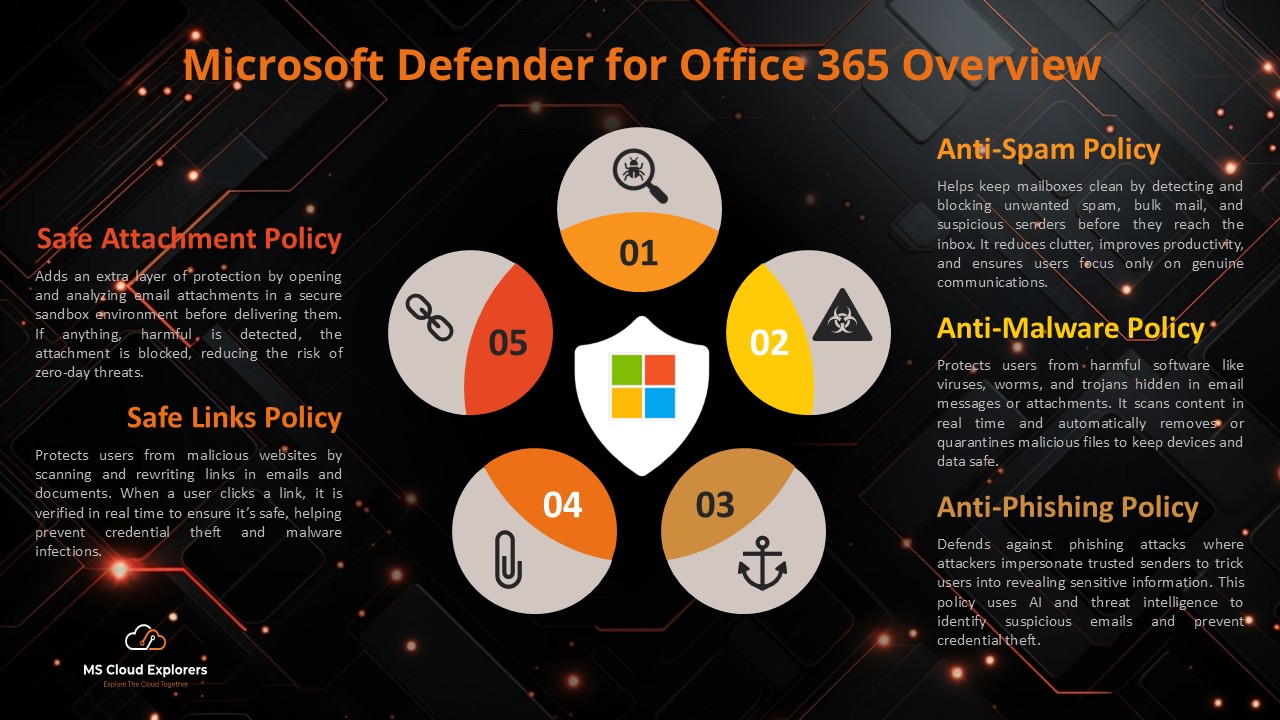
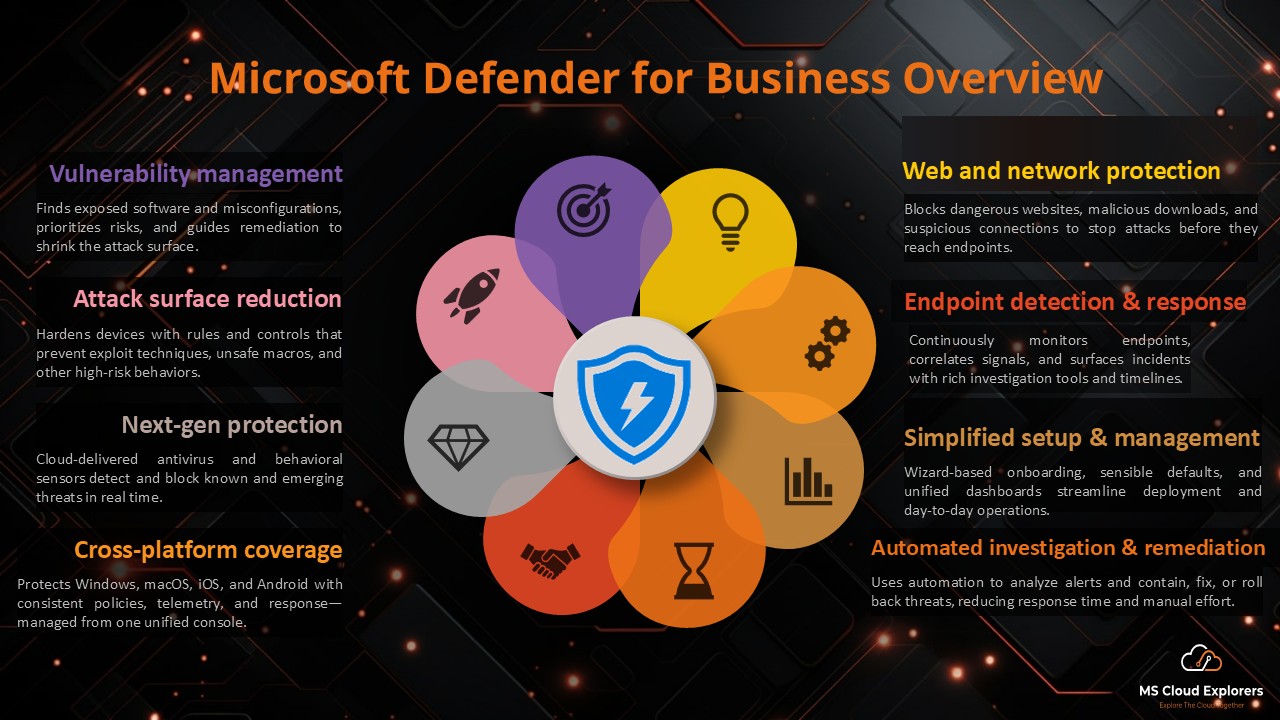
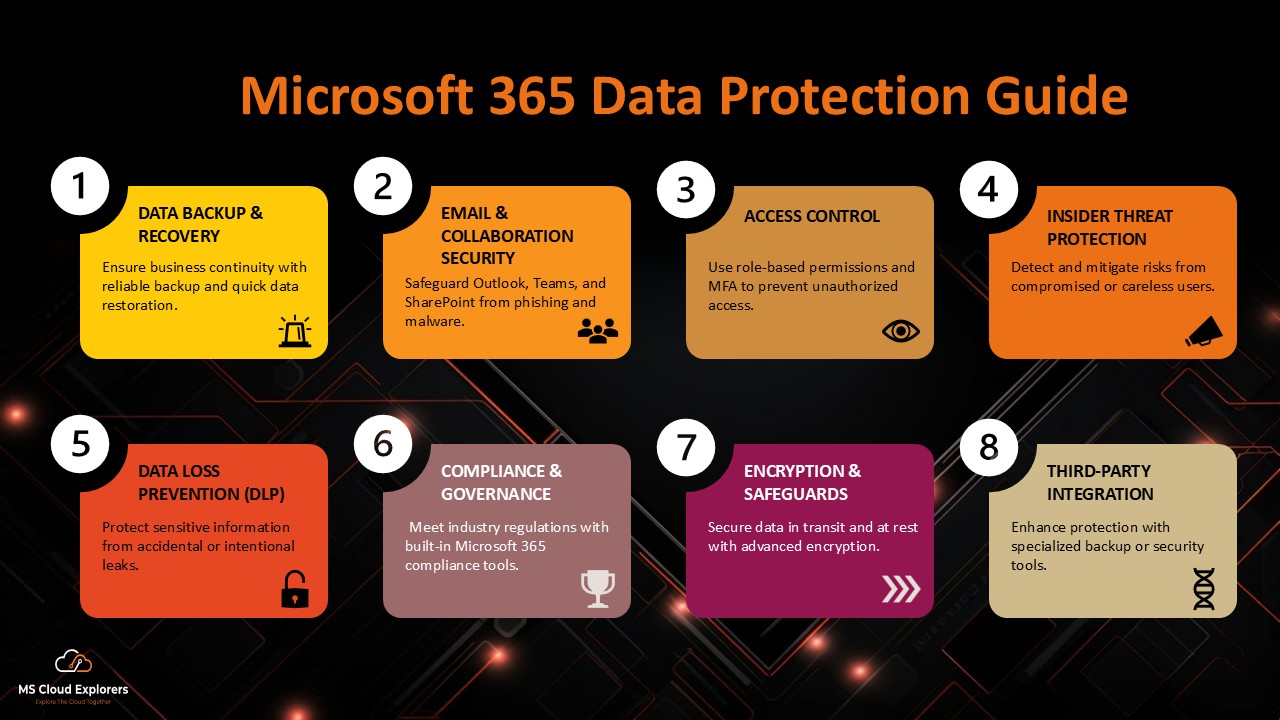
Totally understandable — data protection is a big concern these days. While eDiscovery itself is more for legal and compliance purposes, Microsoft 365 does offer built-in security tools like Defender for Office 365, DLP (Data Loss Prevention), and Sensitivity Labels to help protect against threats. For extra peace of mind, enabling MFA (multi-factor authentication) and regularly backing up your data using trusted third-party solutions can also go a long way. Let us know if you’d like a guide on setting those up!
Appreciate this post. Let me try it out.